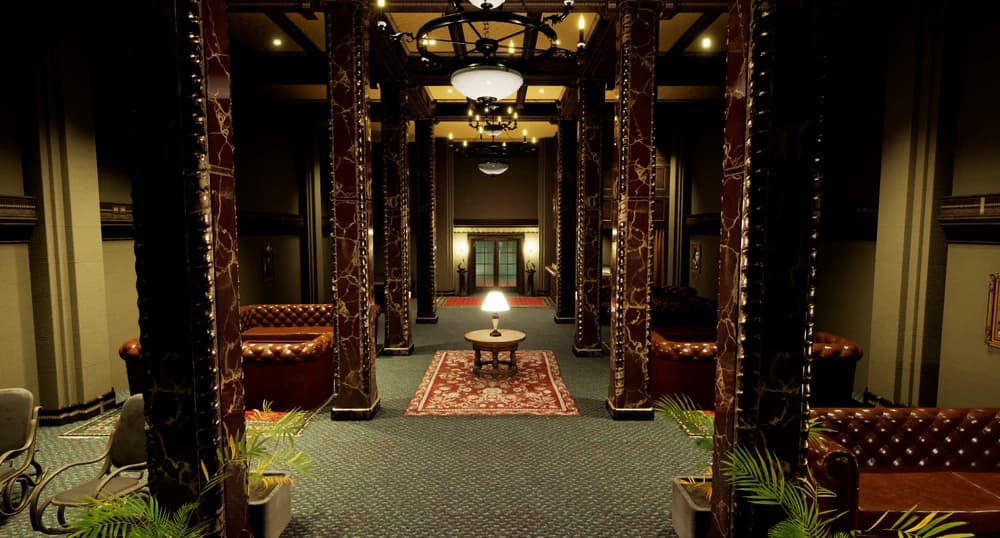
The Main Hall
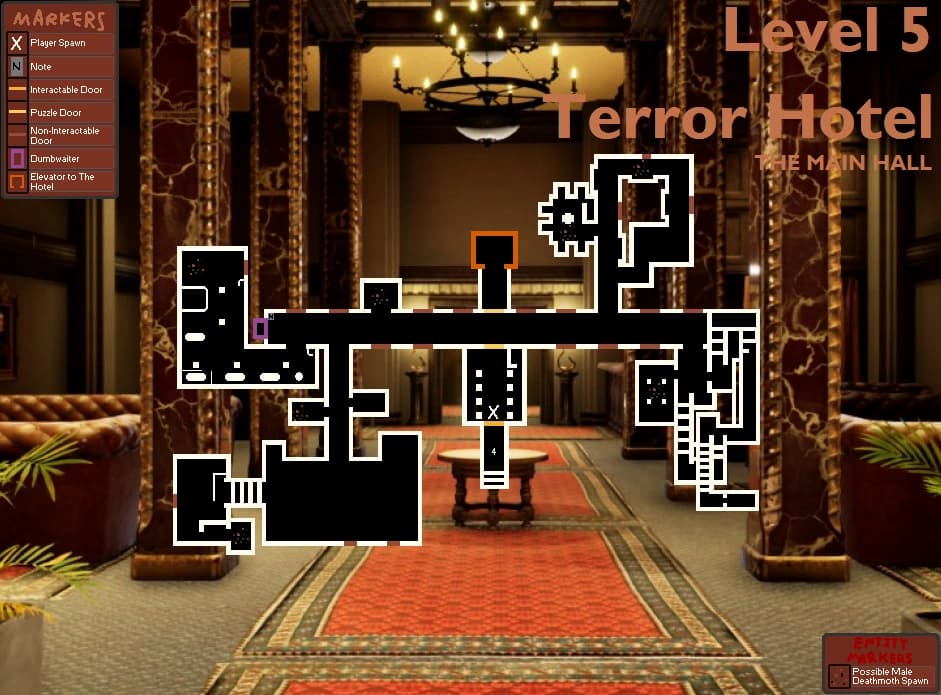 1234
12341: Painting Puzzle
Press the four paintings from the youngest person to the oldest person to open the Main Hall route.
2: Dumbwaiter
Place one Moth Jelly in the dumbwaiter at a time. Three exchanges return the three keys for the locked gate.
3: Elevator to the Hotel
This is the elevator reached after the three locks on the glass-door route are opened.
4: Three-Lock Gate
Use all three keys here to open the route to the elevator.
Recommended order: complete point 1, make three Moth Jelly exchanges at point 2, unlock point 4, then take the elevator at point 3. Bug Spray is available at the lobby desk and is used on Male Deathmoth swarms.
The Hotel
 1234
12341: Mailbox Area
Use the open mailbox compartments to identify the rooms that must be searched for papers.
2: Room 235
Enter the five-digit ceiling code here after returning the required papers to the mailbox.
3: Hotel Room Loop
Use the numbered rooms and door markers to orient the paper-search loop; the open rooms vary by run.
4: Route to the Boiler Room
Room 235 opens this progression route after the code is entered.
Collect a paper from each room named by an open mailbox compartment and return it to the mailbox. The completed message reveals the ceiling code. The map helps with room orientation, but it does not promise a fixed paper location because the open compartments change.
The Boiler Room
 1234
12341: First Checkpoint Route
The map marks the first checkpoint-spawn area in the upper middle section.
2: Second Checkpoint Route
The second checkpoint marker is in the upper-right route.
3: Bug Spray Pipe Area
Use the marked Bug Spray pipes to deter Female Deathmoths if they are blocking progress.
4: Exit Route
The final marker is placed by the lower exit route. Confirm the door has an exit sign; the guide warns that other doors can be false exits.
Follow the checkpoints as recovery landmarks rather than assuming a safe route. Watch the thermometer: the guide states that a reading other than 72 degrees signals nearby danger. Purple doors lead to hives, so identify the exit sign before committing to a door.
Vue d’ensemble
Progression
Résolvez les tableaux, échangez la gelée de mites contre les clés, puis utilisez les papiers de la boîte aux lettres pour ouvrir la chambre 235. Pour l’ordre complet des objectifs et la stratégie de survie, suivez Escape the Backrooms : Niveau 5.
Boiler Room
Utilisez thermomètre et tuyaux de Bug Spray ; la vraie sortie porte un panneau Exit.