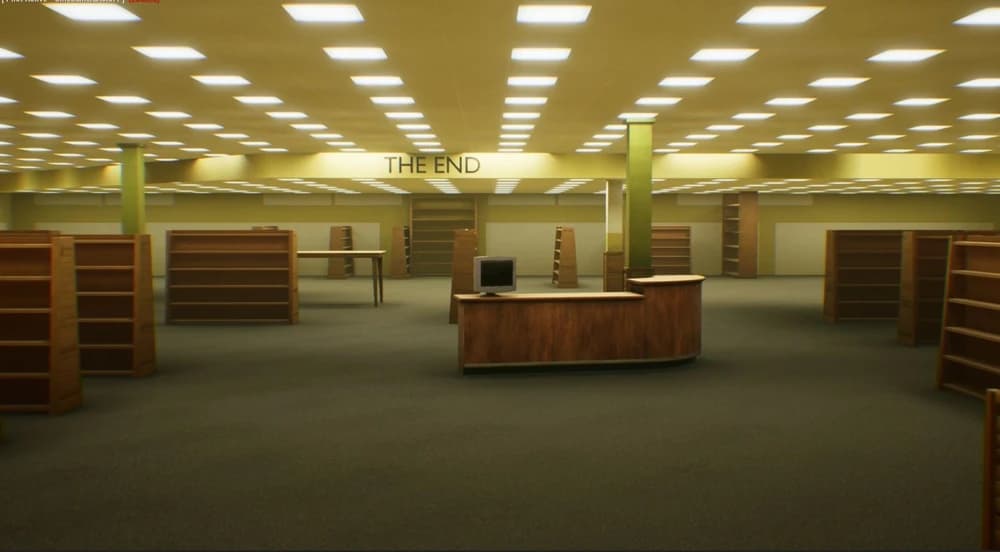
The End Layout
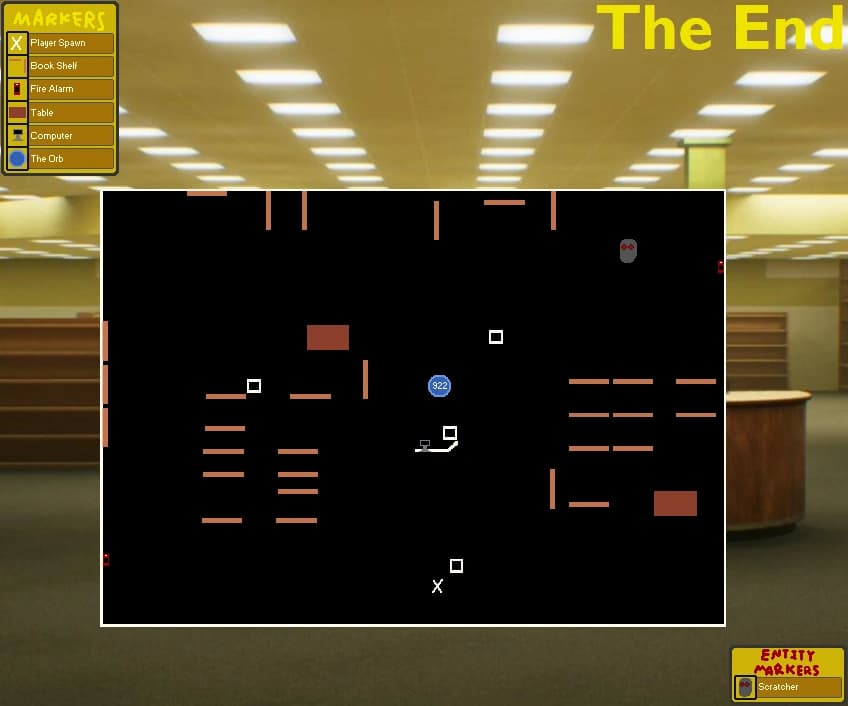 1234
12341: Player Start
Begin here and sweep nearby shelves quietly for tapes.
2: Central Computer
Return here after the required tape count is collected to unlock the damaged-room door.
3: Left Fire Alarm
Triggering an alarm can draw the Scratcher away; it has a cooldown, so use it deliberately.
4: Right Fire Alarm
The second alarm is on the opposite side, enabling a team to redirect the Scratcher before searching the other side.
The numbered route identifies the start, computer, and both confirmed fire-alarm positions. The map also shows tables, which can be used for hiding. The blue Orb icon belongs to an older map version; current progression is computer, unlocked door, ladder, then vent to Level 94.
Average Tape Spawn Reference
 1234
12341: Starting Area
Use this point to decide which shelf block the team searches first.
2: Computer Return
This is the central objective return point after the tape requirement is met.
3: Left Alarm Side
Use this side as one half of a split search after the Scratcher is distracted.
4: Right Alarm Side
Search this opposite side while the distraction gives the team space.
The colored dots show six-game observations, not fixed tape spawns. Use the numbers to split the room into a practical search order, then use the colored observations only as a secondary priority when checking shelves.
Vue d’ensemble
Objectif
Collectez les cassettes, revenez à l’ordinateur et utilisez la porte, l’échelle puis le conduit vers le Niveau 94. Pour l’ordre complet des objectifs et la stratégie de survie, suivez Escape the Backrooms : The End (Mis à jour).
Note
Le marqueur Orb est issu d’une ancienne version ; les points de couleur sont des observations, pas des garanties.