
Enter the Graffiti plaza
Make sure this is actually the step you are on. If an item or prompt is missing, backtrack one room and check the inventory first.
Solve the Escape the Backrooms Level 2 Graffiti colored tubes and fan puzzle. This route covers speed drinks, carrying NPCs, avoiding Bacteria, breaking the fans, and entering the final tube.
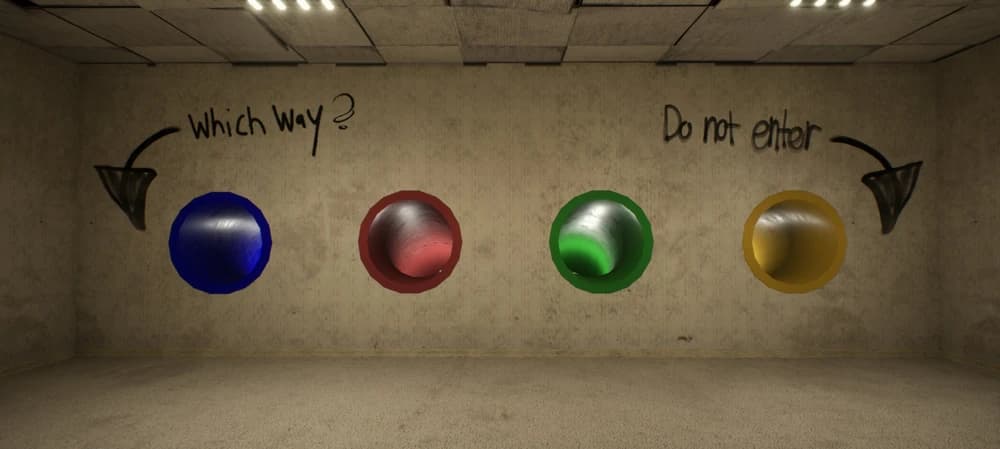
Level 2 Graffiti starts in a plaza-like area with three doors that are not ready to open yet and four tube holes tied to the fan puzzle. Do not jump into the holes immediately. At the start of the route, those drops are unsafe because the fans inside can kill you before the puzzle state changes.
Before leaving the plaza, grab the speed drink near the switch area. There is also a piece of paper underneath the switch. Pulling the switch opens the outside route, but the drink is the real survival tool for the level. Without drinks, carrying objectives becomes slow and the Bacteria patrols can catch up easily.
The route depends on moving carried NPCs back to the tube holes. While carrying someone, your movement is heavily restricted: keep holding W to move forward, avoid S, and do not press Shift unless you want to drop the carry. The speed drink offsets that slowdown and lets you cross open space before Bacteria pressure becomes a problem.
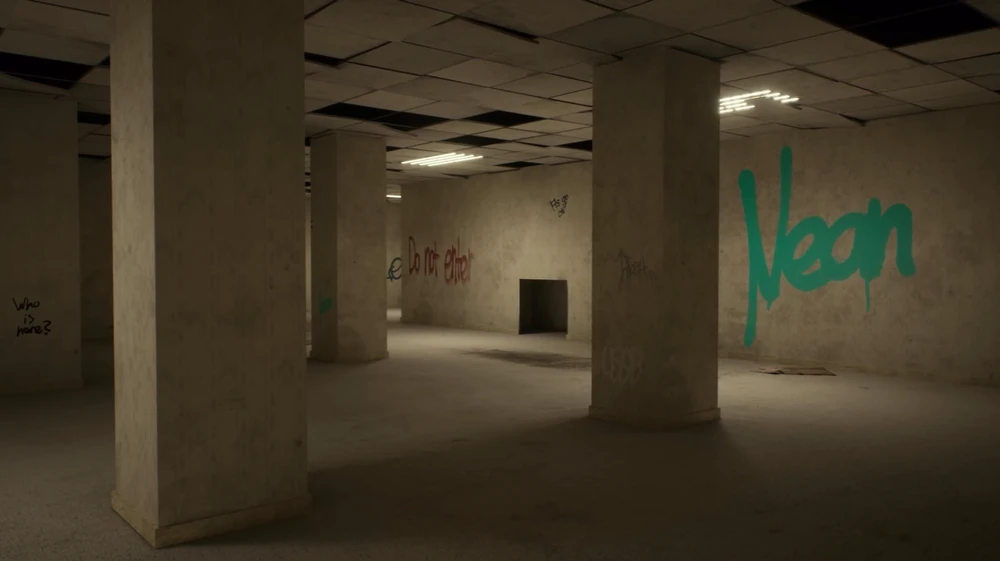
Your main objective is to find the NPC-like bodies around the level and bring them back to the four tube holes. Start by sticking left from the opened route. The first target is on the left-side path. Pick him up, drink if needed, then return to the plaza without using Shift or backing up with S.
At each tube hole, throw the carried body into the opening. The drop is used to break the fan below. Do not immediately follow the body into the hole; even after one fan breaks, the route is not ready until all four tube states are completed. Watch the interaction text and the hole state after each successful drop.
For the first two carries, the safest route is to keep working the left side and return to the plaza after each pickup. Bacteria patrols can appear along this path, but the speed drink lets you outrun them if you keep moving cleanly and avoid wasting stamina on bad turns.
For another pickup, move toward the right-hand side where the route climbs toward a second-floor or high-place section. Use the ladder/high route to reposition, then drop back down if needed. Another target can be reached from the middle-door route by moving right at roughly a 45-degree angle toward the UFO/sticker landmark, then carrying him back diagonally from that side.
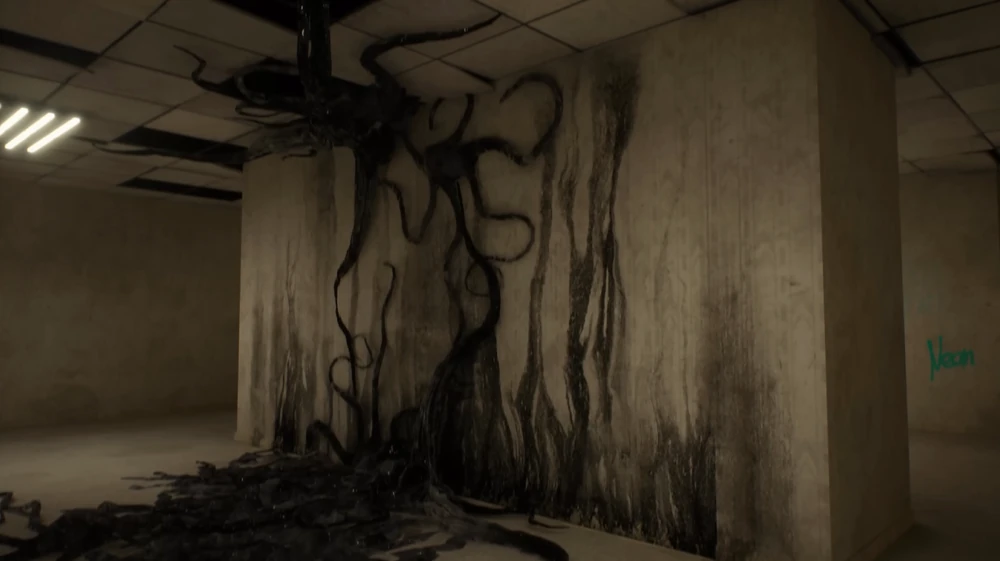
After all four carried bodies are thrown into the correct tube holes, the four holes turn dark. That visual change is your completion signal. At that point, choose any completed hole and press F to go down.
The important mistake to avoid is entering too early. If only one or two fans have been broken, the route is still unsafe and incomplete. Treat the puzzle as a four-step checklist: collect drinks, carry each target back, throw one into each tube hole, confirm all four holes have changed state, then use F for the exit drop.
We use this as the quick “don’t make the same mistake twice” checklist. If your room, spawn, or prompt does not match the video, stop and check the normal route first—patches and co-op timing can make an old shortcut look tempting when it simply will not work.
Make sure this is actually the step you are on. If an item or prompt is missing, backtrack one room and check the inventory first.
Look around slowly before guessing. Props can hide chairs, switches, notes, and pickups; a second camera angle is usually faster than brute force.
Call out what was pressed, collected, or opened. It prevents the classic “we all thought somebody did it” reset.
If a skip behaves inconsistently, leave it and take the intended route. A clean run beats getting stuck in geometry.
For the Graffiti puzzle, have one player read the colour order while another works the tubes or fans. Repeat the sequence before committing; correcting a heard-wrong colour is safer than resetting late.
What each entity does on this route, and the move that keeps the encounter under control.
The current Graffiti route places Bacteria pressure across long NPC carries between the outside paths and tube holes.
Pick up the speed drink before the carry, preserve a clean line back to the plaza, and do not force a slow return through a blocked lane.