
Enter Level 55.1
Make sure this is actually the step you are on. If an item or prompt is missing, backtrack one room and check the inventory first.
Master Escape the Backrooms Level 55.1 with the Normal Ending and secret "Wrong Door" Ending routes, solo and co-op photo requirements, lift setup, and safe entity photography.
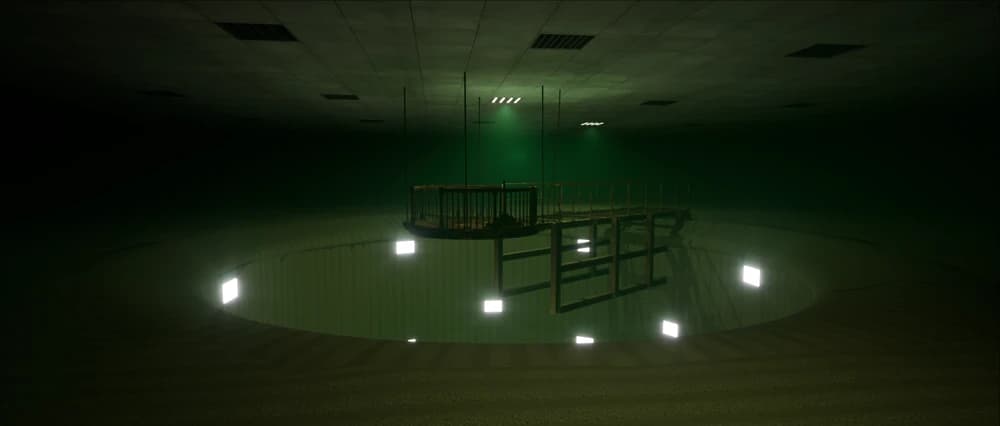
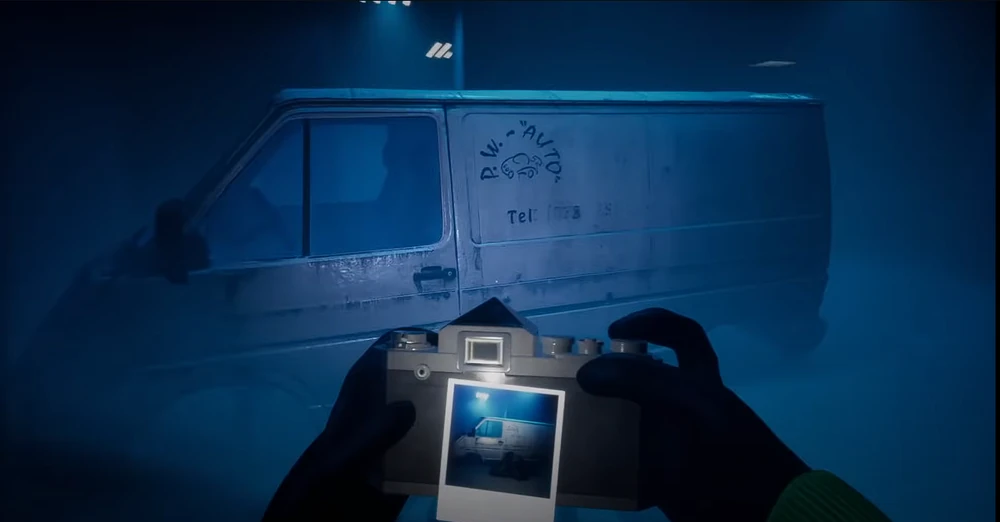
When you first load into Level 55.1, you will immediately notice that this unique level shifts your focus heavily toward navigation and photography. Your first order of business is to pick up the camera provided at the starting area. The text prompts displayed on the camera housing dictate your progression goals based on your current party size. If you are playing through this level in multiplayer co-op with a full lobby of four players, your primary task is to take a group photograph that successfully captures your three fellow teammates together.
However, if you are tackling this level entirely solo, you obviously cannot take photos of other wanderers. To account for this, the developers implemented a dedicated workaround: instead of targeting players, you must stand at the starting zone and snap a clear photograph of the specifically marked wall section right in front of you. Taking this photo flags the initial objective as complete, allowing you to advance through the rest of the level without any mechanical differences between solo or multiplayer modes.
Directly below your starting photography position, there is an elevator car that plays a major operational role in how you exit the level. As an experienced player who has analyzed multiple route optimization failures, I cannot stress this enough: do not simply jump down into the lower levels without dropping the elevator car first. While it is physically possible to leap straight down into the lower corridors on lower difficulties to speed up your routing, doing so leaves the car stranded at the upper levels.
If you are playing solo and descend without moving the vehicle, you will find yourself completely trapped at the bottom with no physical way to touch or interact with the car to complete your extraction. If you happen to be running on Nightmare difficulty where menu-warps and loose restarts are heavily restricted, this oversight will completely softlock your run, forcing a total level reset. Make sure to pull the upper activation levers to properly drop the vehicle down into the lower staging area before you commit to descending.
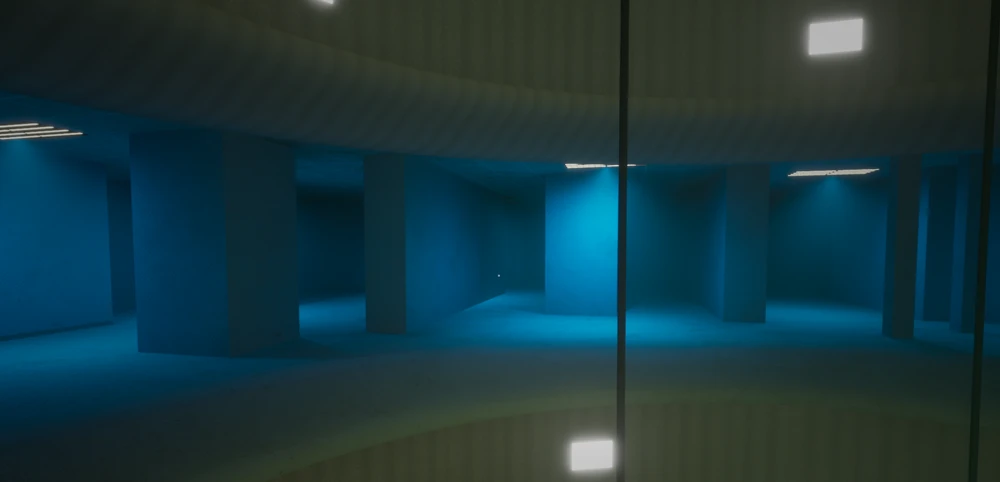
Once you are safely in the lower corridors, you must locate and photograph several distinct entities native to this zone to fully satisfy your objective list. The threat priority here is vastly different from other standard levels, and you must adapt your movement styles accordingly:
After photographing the stone statue, Smiler, Skin-Stealer, and Bacteria, check that the objective tracker has updated. If you skipped lowering the elevator car earlier, you must loop back with the mechanical lifts or restart with the car in the correct position.
With all your entity photography requirements fully checked off and the elevator car correctly positioned in the lower bays, you can now proceed toward the extraction point. Locate the primary control junction and pull the main lever mechanism up and down to completely cycle the power. From this platform, align your character with the central drop zone and safely jump straight down into the extraction bay.
Descending through this path triggers the official Normal Ending sequence for Level 55.1. It is highly recommended to secure this standard completion path first; completing the main ending is a hard-coded prerequisite that updates your save state, permanently unlocking the necessary flags required to access the hidden "Wrong Door" Secret Ending and alternate side branches on subsequent playthroughs.
We use this as the quick “don’t make the same mistake twice” checklist. If your room, spawn, or prompt does not match the video, stop and check the normal route first—patches and co-op timing can make an old shortcut look tempting when it simply will not work.
Make sure this is actually the step you are on. If an item or prompt is missing, backtrack one room and check the inventory first.
Look around slowly before guessing. Props can hide chairs, switches, notes, and pickups; a second camera angle is usually faster than brute force.
Call out what was pressed, collected, or opened. It prevents the classic “we all thought somebody did it” reset.
If a skip behaves inconsistently, leave it and take the intended route. A clean run beats getting stuck in geometry.
In multiplayer, the first camera target can be another player. Take that photo while everyone is together, then use the elevator lever deliberately; stopping it gives the team time to break line of sight.
What each entity does on this route, and the move that keeps the encounter under control.
A slower Bacteria appears in the Level 0.3 layer as one of the required camera targets.
Take the picture with the nearest locker or lift already chosen, then use that shelter rather than remaining in the corridor for a cleaner shot.
A slow Skin-Stealer is one of the lower photography targets.
Create enough space for the required photograph, then step into a nearby locker instead of trying to compose another shot.
A roaming Smiler is one of the required photography targets.
Keep the camera light on its face, take the photograph from range, confirm the objective, and leave the lane.