Take the Safe Route Through the Poolrooms
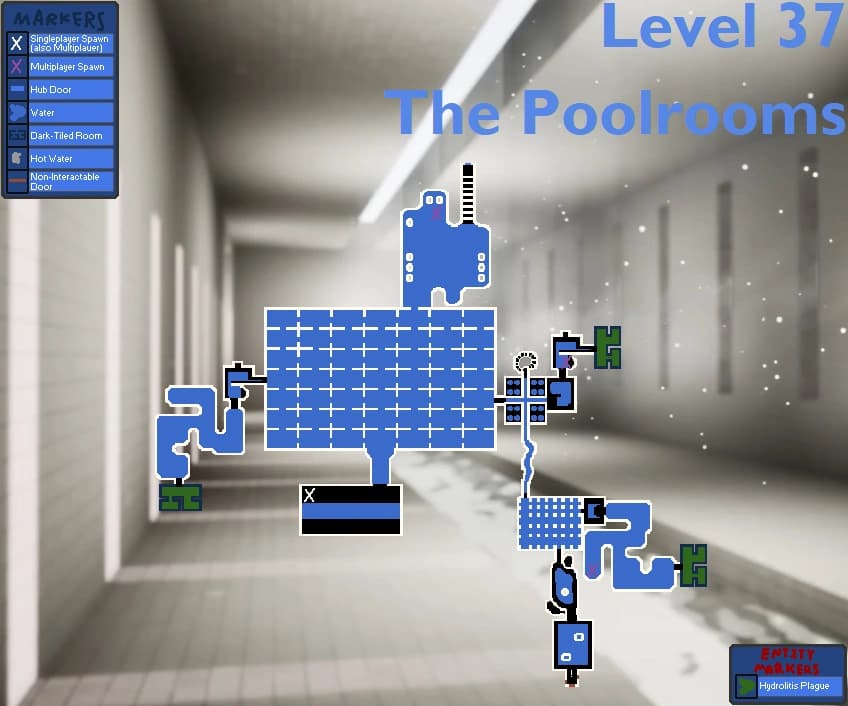
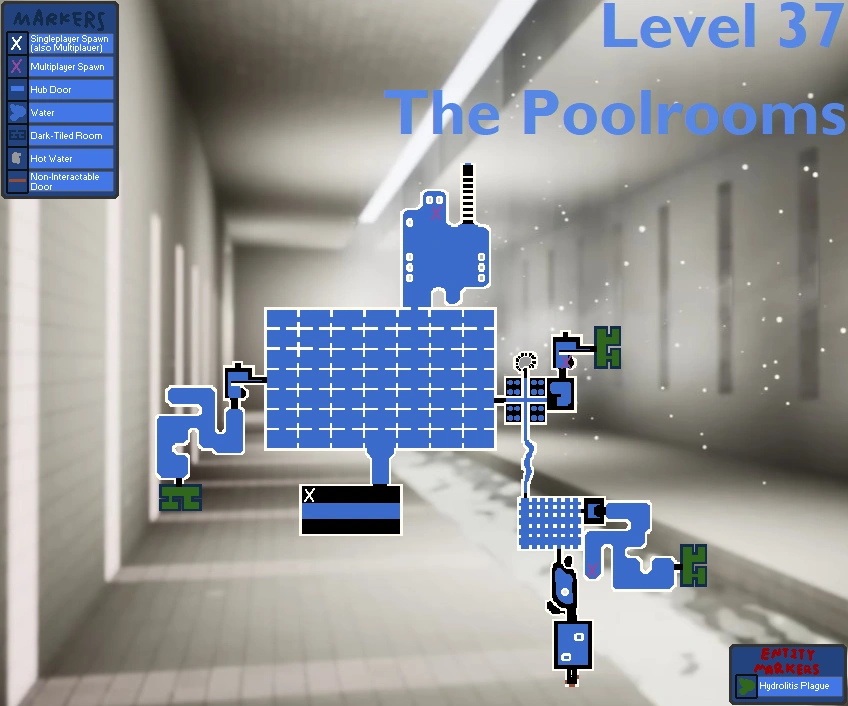
Level 37 is largely safe, but navigation can be confusing. For a visual reference to this route, see Level 37 Map.
1. Spawn Points (Solo vs. Multiplayer)
- Solo/Host: You typically spawn near a water slide exit.
- Multiplayer: In a 4-player game, teammates may spawn at different locations. Communicate and find each other first.
- Objective: Look for a specific "wavy" area or a large open pool room with pillars.
2. The Return-Area Detour
You might encounter a door or passage leading to The Hub.
- Warning: If you enter The Hub by mistake, you must find the door labeled "Level 37" to return. Do not go into other level doors, or you might skip ahead unprepared or get stuck.
- Navigation: From the start, sticking to the Right-Hand Side is generally a good strategy to find the main path.
3. Dark-Tiled Rooms and Version Changes
While the water looks inviting, not all of it is safe.
- Hydrolitis Plague: This is an environmental water hazard associated with the dark-tiled rooms, not the roaming Bacteria from Level 0. Current versions changed the old instant-death behavior.
- Visual Cue: Look for darker water or deep pits. Stay on the tiled walkways whenever possible. If you must cross water, ensure it is the shallow, clear blue type.
4. Sanity Regeneration (Safe Zone)
This is the unique feature of Level 37.
- Effect: Standing in this level automatically regenerates your Sanity.
- Strategy: If your brain icon is low from Level Fun, AFK here for a few minutes. Let your sanity fill up completely before moving on to the next dangerous level. You don't need to waste Almond Water here.
5. Finding the Exit
The exit is not a standard door.
- The Sign: Look for a glowing red "!" (Exclamation Mark) sign or a specific red-lit corridor.
- The Path: Navigate through the tiled maze until you find a narrow hallway lit with red light. This leads to the transition point for the next level (Level Run for Your Life!).
Poolrooms Hazards and Version Differences
- No roaming chase: The normal route has no creature hunting the team. Use that breathing room to regroup and read the room shapes.
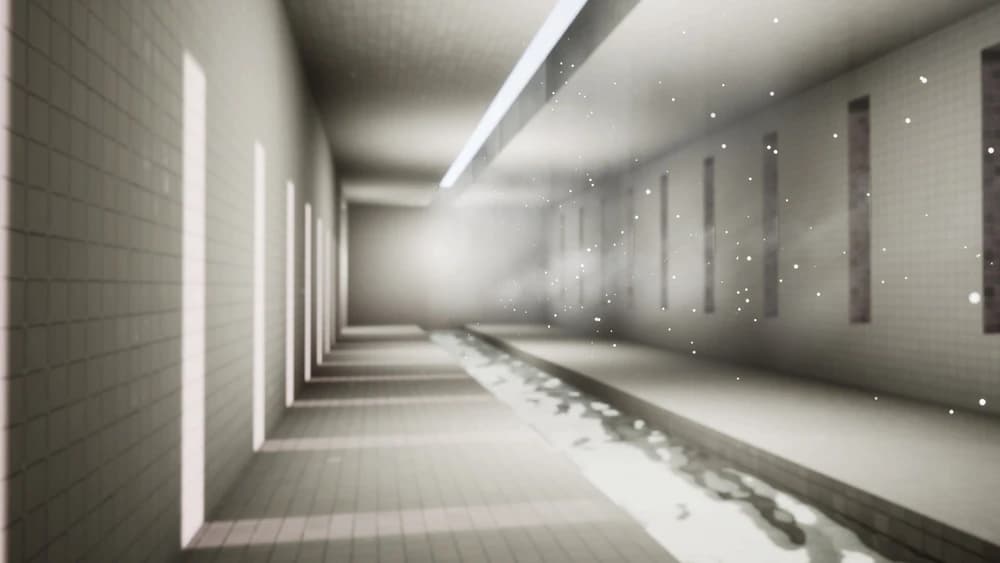
- Visuals: Enjoy the aesthetics. This level is a fan favorite for its "liminal space" atmosphere.
- No Sanity Drain: Unlike other levels where standing still hurts you, here it helps you. Use this to your advantage.
The Reliable Right-Right Route to the Red Hallway
From the square entrance area, take the right-hand opening, then turn right again at the main intersection. Continue through the first wavy room, the sewer-like chamber, and the second wavy room. The destination is the exit room with two life savers and a short red hallway. Those large shapes are better callouts than “another blue room,” especially when a co-op group spawns apart.
- Dark-tiled rooms: this is an environmental hazard area associated with the Hydrolitis Plague, not a roaming Bacteria encounter. Older versions handled the damage differently, so old death clips may not match the current release.
- Hot Water Zone: the spiral stair drops toward boiling water and is not part of the exit route. Turn back rather than using the lower pool as a shortcut.
- Sanity: entering the Poolrooms restores the group’s sanity. Do not spend the last food or Almond Water from Level Fun before checking the meter here.
When Teammates Spawn in Different Rooms
Agree on the square entrances, main intersection, or sewer chamber as the meeting landmark. Nobody should reverse the whole route because one player says “I’m at the pool.” Continue to the next named landmark, wait there, and then take the final wavy-room route together.
Player route notes
Things we check before pushing ahead
We use this as the quick “don’t make the same mistake twice” checklist. If your room, spawn, or prompt does not match the video, stop and check the normal route first—patches and co-op timing can make an old shortcut look tempting when it simply will not work.
Check 011. Spawn Points (Solo vs. Multiplayer)
Make sure this is actually the step you are on. If an item or prompt is missing, backtrack one room and check the inventory first.
Check 022. The Return-Area Detour
Look around slowly before guessing. Props can hide chairs, switches, notes, and pickups; a second camera angle is usually faster than brute force.
Check 033. Dark-Tiled Rooms and Version Changes
Call out what was pressed, collected, or opened. It prevents the classic “we all thought somebody did it” reset.
Check 044. Sanity Regeneration (Safe Zone)
If a skip behaves inconsistently, leave it and take the intended route. A clean run beats getting stuck in geometry.
Multiplayer tipsIn the Poolrooms, pick left or right before the first junction and keep that rule for everyone. If somebody loses the group, stop at the last clear landmark and use short callouts instead of having everyone reverse direction.