1. Strategy: The Right-Hand Rule
Make sure this is actually the step you are on. If an item or prompt is missing, backtrack one room and check the inventory first.
Level 0 becomes manageable once you route the four ladder fragments in one controlled loop, then use the key and pit crossing without losing the team’s landmarks.
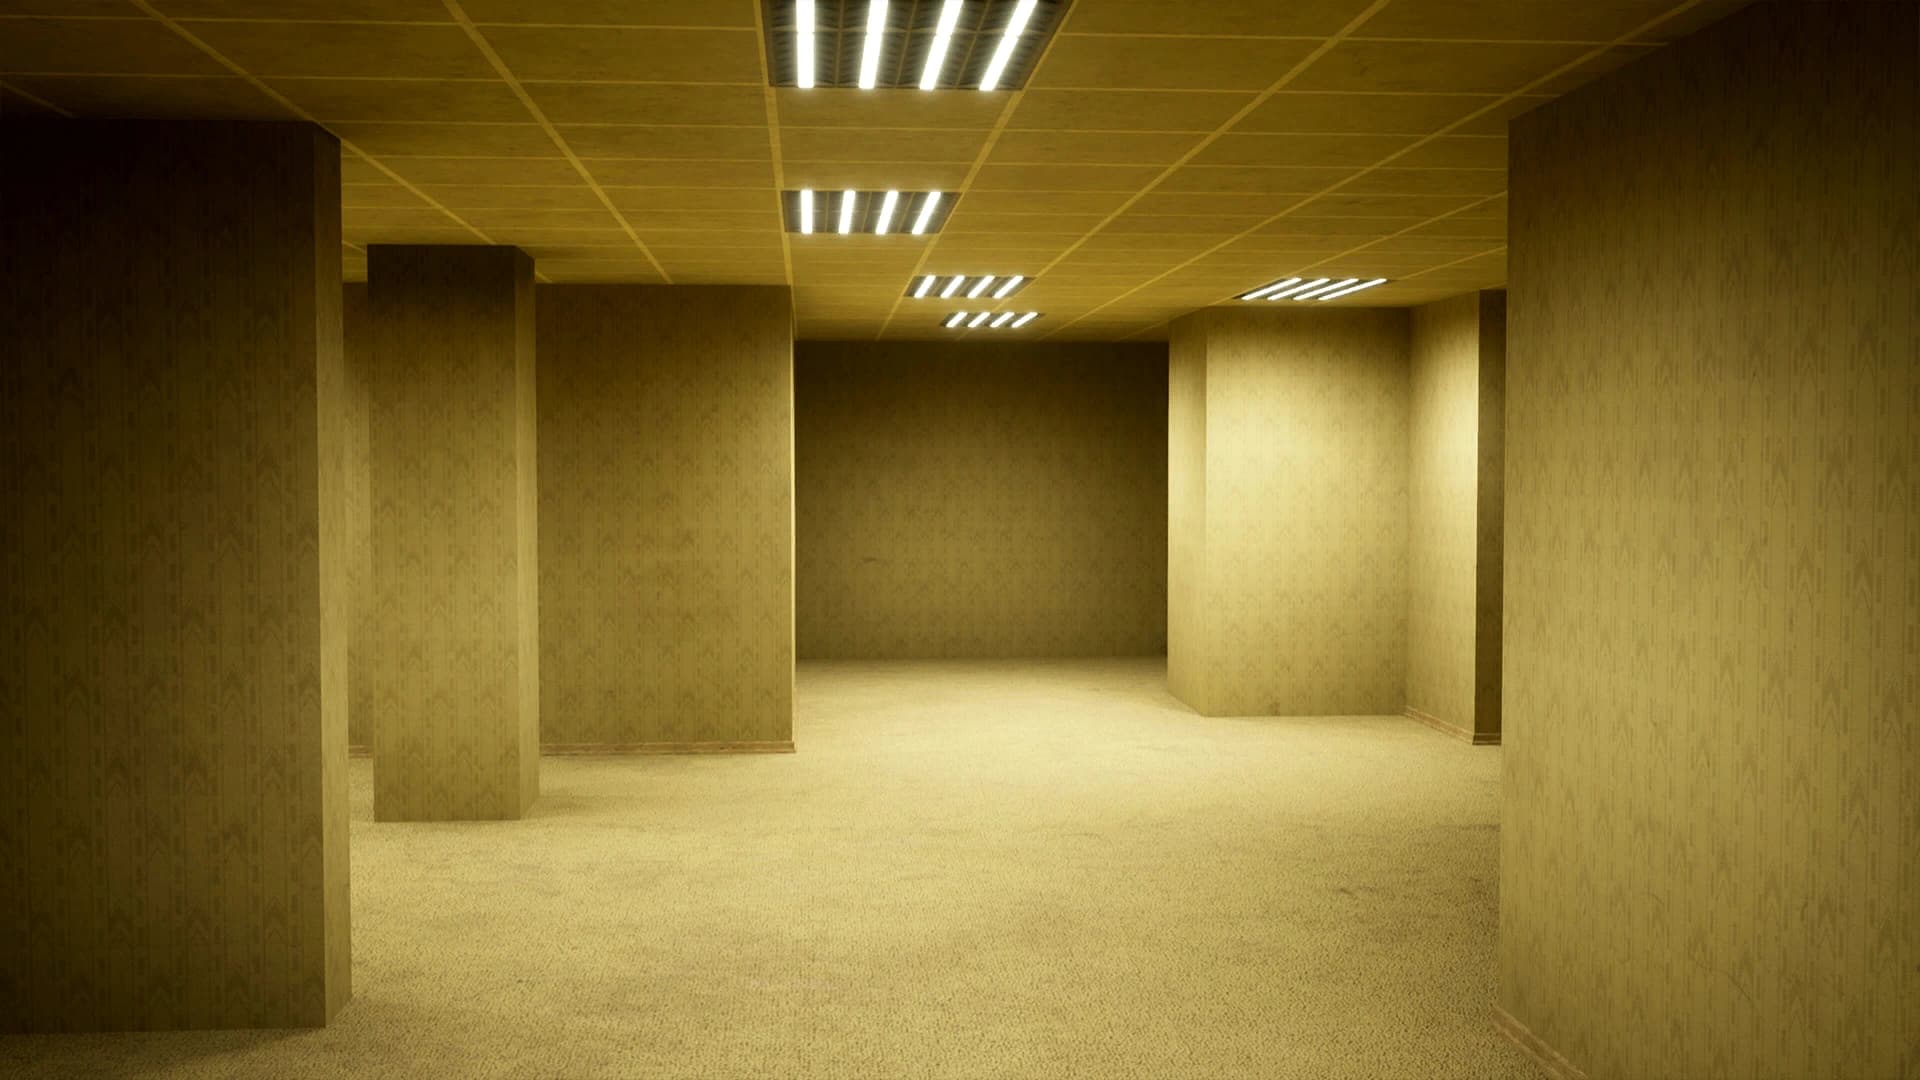
Based on the latest game version, here is the detailed text guide to escape the Lobby.
Level 0 is an endless maze of yellow wallpaper. To avoid getting lost, use the Right-Hand Rule:
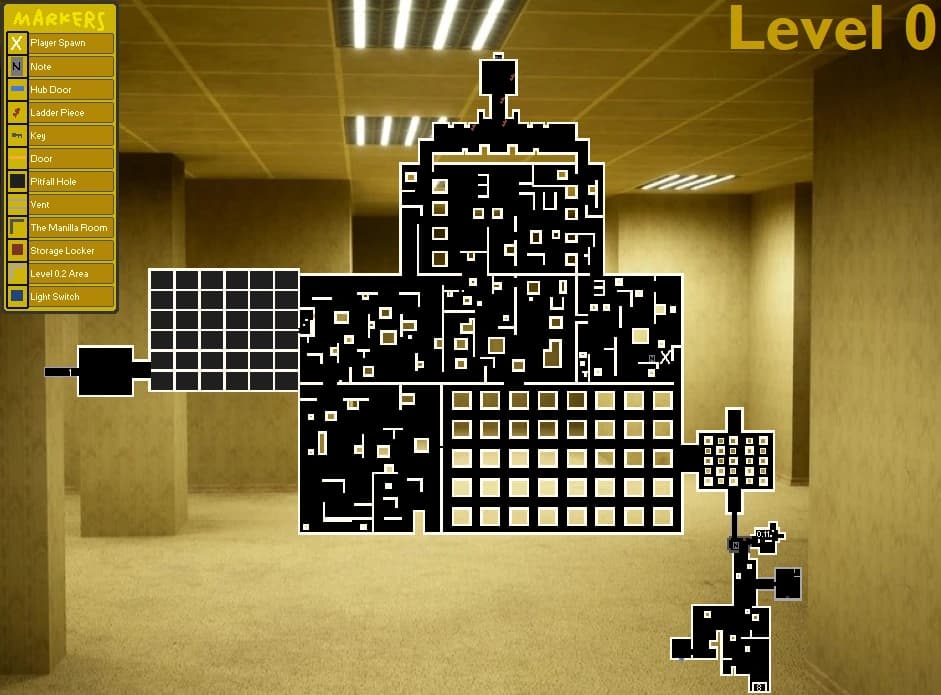
Your main objective is to repair a broken ladder to reach the ventilation shaft. You need to collect 4 Ladder Fragments scattered on the floor near the spawn intersection. For a visual reference to this route, see Level 0 Map.
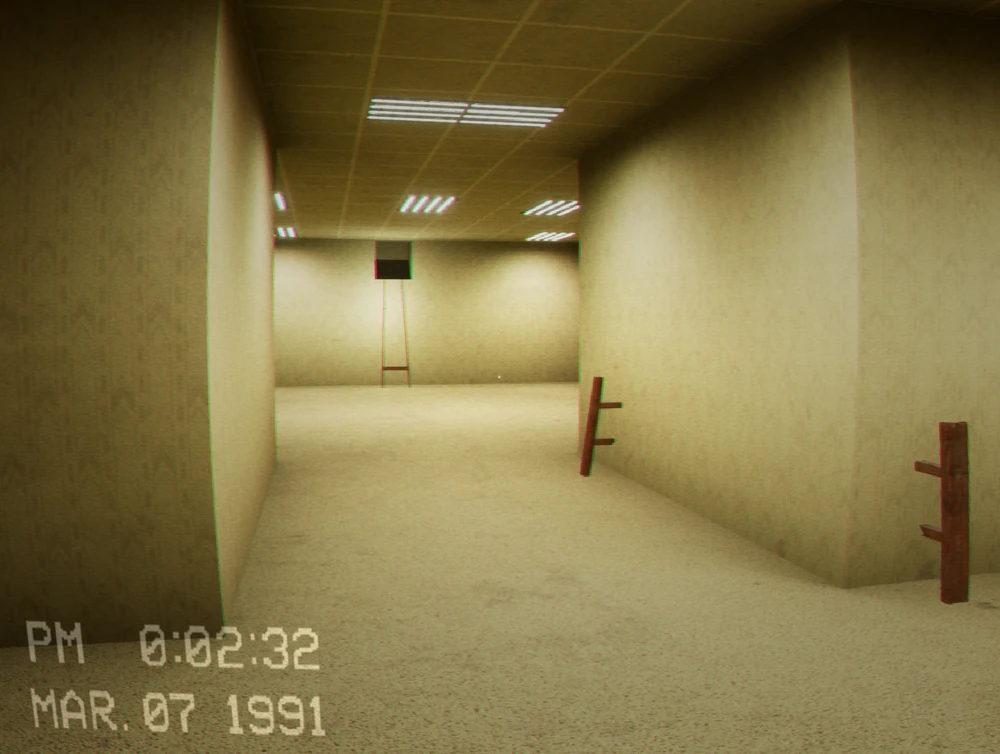
Once you have all 4 pieces:
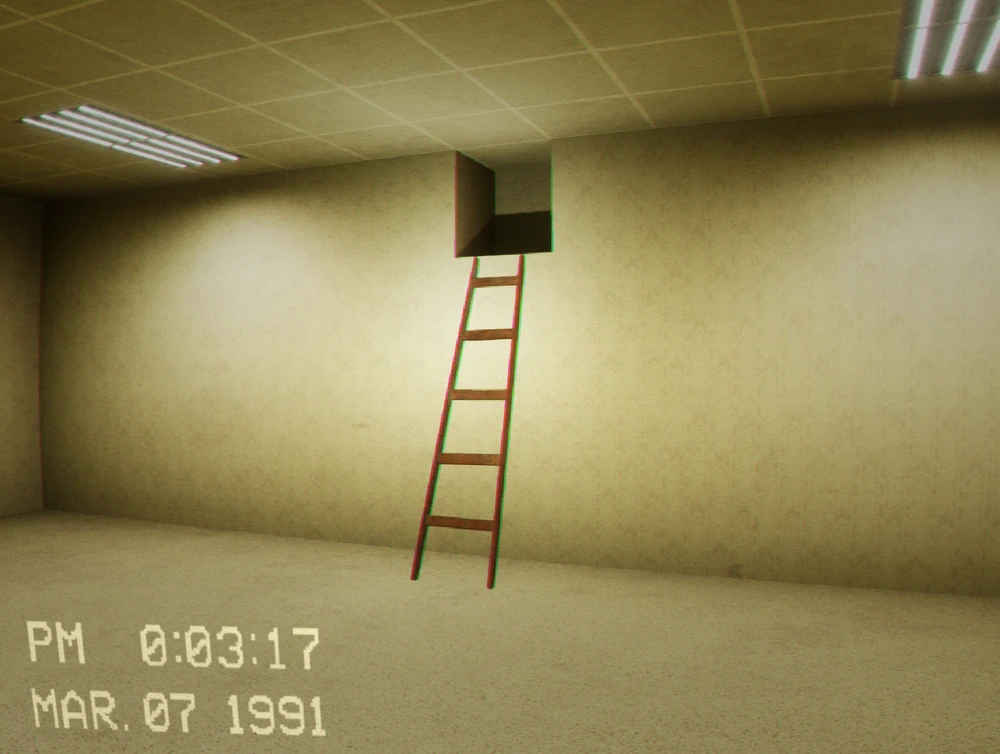
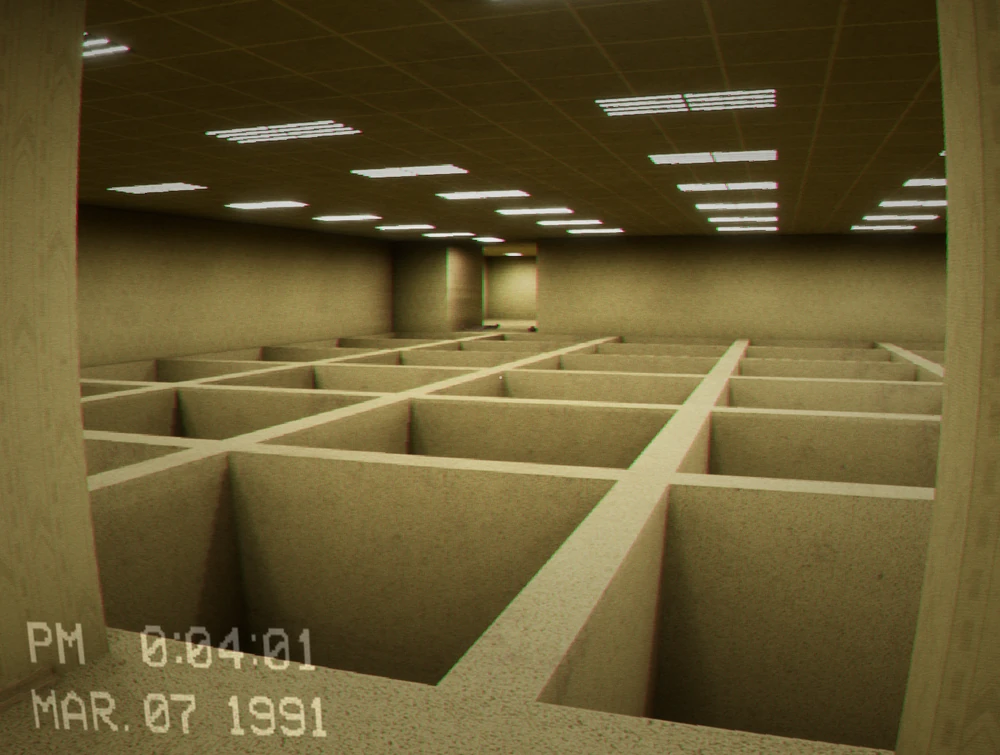
The next room features a deep pit with a grid of beams. Do not run.
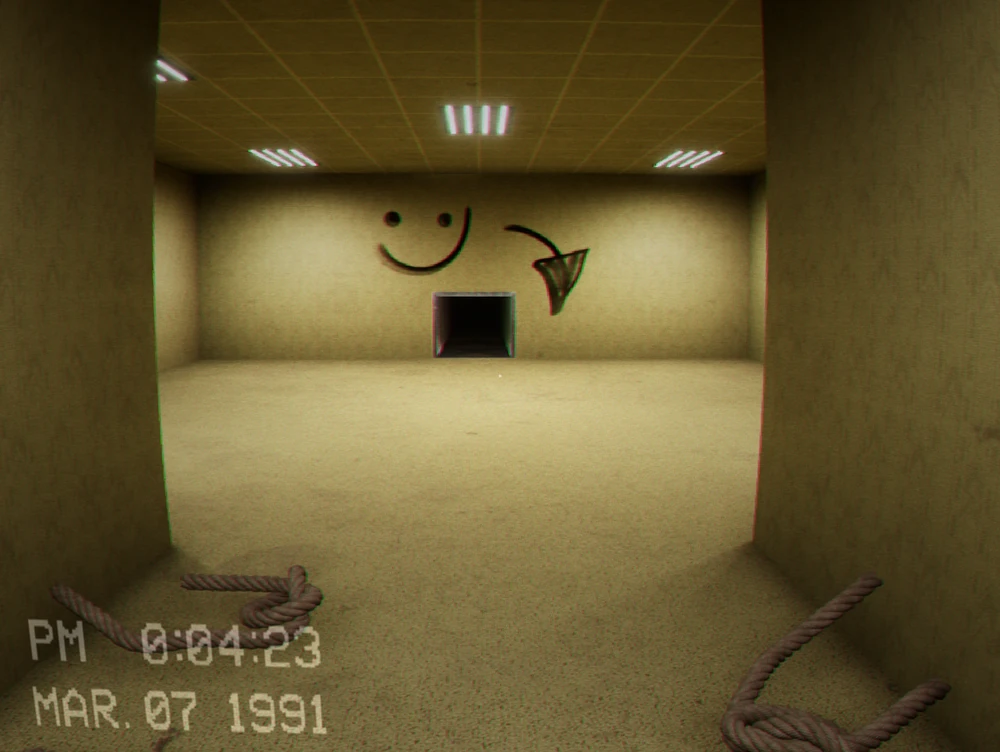
After the pit, you will enter a dark hallway leading to a staircase.
The yellow rooms only feel random if we keep changing the rule halfway through the search. We clear one loop around the ladder area, check the floor beside every partition, and only widen the loop after all four fragments have been accounted for. That makes the repaired ladder the team’s fixed landmark instead of another room everyone is trying to describe over voice chat.
Older clips show wall clips and balance skips that no longer behave consistently. We treat the narrow crossing as the real route: walk it one player at a time, keep the camera steady, and wait until the landing is clear before the next person commits. The few seconds saved by forcing old collision tricks are not worth restarting the ladder search.
We use this as the quick “don’t make the same mistake twice” checklist. If your room, spawn, or prompt does not match the video, stop and check the normal route first—patches and co-op timing can make an old shortcut look tempting when it simply will not work.
Make sure this is actually the step you are on. If an item or prompt is missing, backtrack one room and check the inventory first.
Look around slowly before guessing. Props can hide chairs, switches, notes, and pickups; a second camera angle is usually faster than brute force.
Call out what was pressed, collected, or opened. It prevents the classic “we all thought somebody did it” reset.
If a skip behaves inconsistently, leave it and take the intended route. A clean run beats getting stuck in geometry.
At the square-hole room, leave one player on the safe side before anyone tries the crossing. If a teammate falls, a player who made it across can use a rope to pull them back; if nobody is across yet, keep moving and look for the arrow-marked recovery route instead of repeatedly jumping into the same gap.
What each entity does on this route, and the move that keeps the encounter under control.
Every player begins as a Wanderer and learns the first shared landmarks in the Lobby.
There is nothing to evade. Agree on the ladder or exit landmark before players search separate branches.
After the opening timer, Bacteria turns the yellow maze into a sightline chase and its knocking can lure the group away from the ladder route.
Do not investigate the knock. Use consecutive corners, keep moving until the howl fades, and avoid a dead-straight panic sprint.