
Wait for the team before triggering the chase
Make sure this is actually the step you are on. If an item or prompt is missing, backtrack one room and check the inventory first.
Escape the Backrooms Level !! chase route: handle solo or co-op pressure plates, trigger the Branch, take the stair-drop shortcut, and follow the exact left / right / left / right path.
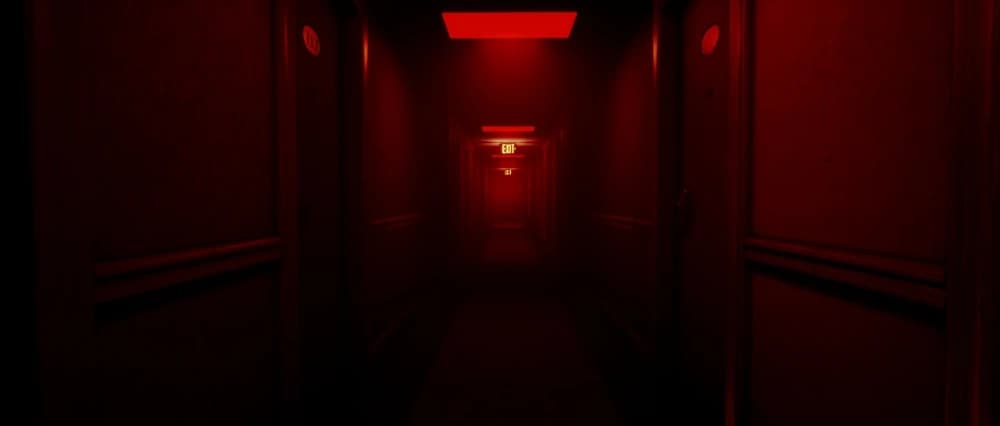
At the start of the red corridor loop, you will encounter gold-colored doors with M.E.G. rugs serving as pressure plates on the floor. The game handles these plates differently depending on your party size:

Once you press the wall button to open the gates, you will trigger the spawn of the "Branch" —a massive, aggressive mass of thrashing limbs that chases you down the corridors.
As you sprint through the red halls, you will reach a series of stairwells leading down.
* The Skilled Skip: Instead of taking the stairs normally, you can jump over the banister/railing and drop down directly to the lower level. This skip saves roughly 2 to 3 seconds of running time, which is often the difference-maker in outrunning the Branch.

Taking a single wrong turn will lead you into dead-ends infested with terminal bacteria. Based on our test runs, you must memorize and follow this exact sequence of movements:

Once you successfully execute the turn sequence, you will pass through a final door into a clean, blue-lit hospital hallway. Turn off your flashlight, swap to your consumable items if needed to recover stamina, and exit through the door at the end of the corridor to proceed to the next stage.
We use this as the quick “don’t make the same mistake twice” checklist. If your room, spawn, or prompt does not match the video, stop and check the normal route first—patches and co-op timing can make an old shortcut look tempting when it simply will not work.
Make sure this is actually the step you are on. If an item or prompt is missing, backtrack one room and check the inventory first.
Look around slowly before guessing. Props can hide chairs, switches, notes, and pickups; a second camera angle is usually faster than brute force.
Call out what was pressed, collected, or opened. It prevents the classic “we all thought somebody did it” reset.
For Level !!, nominate one player to read the colour or symbol sequence and a second to repeat it back. That short check is faster than guessing under pressure.