
Entity 1: The Smiling Eye (笑魔)
Make sure this is actually the step you are on. If an item or prompt is missing, backtrack one room and check the inventory first.
Escape the Backrooms Level 0.2 route: read the blueprint, clear the 5 lower-upper gate pairs, counter Smiling Eyes and the Skin Peeler, and use the starting fuse-box ceiling clip if needed.
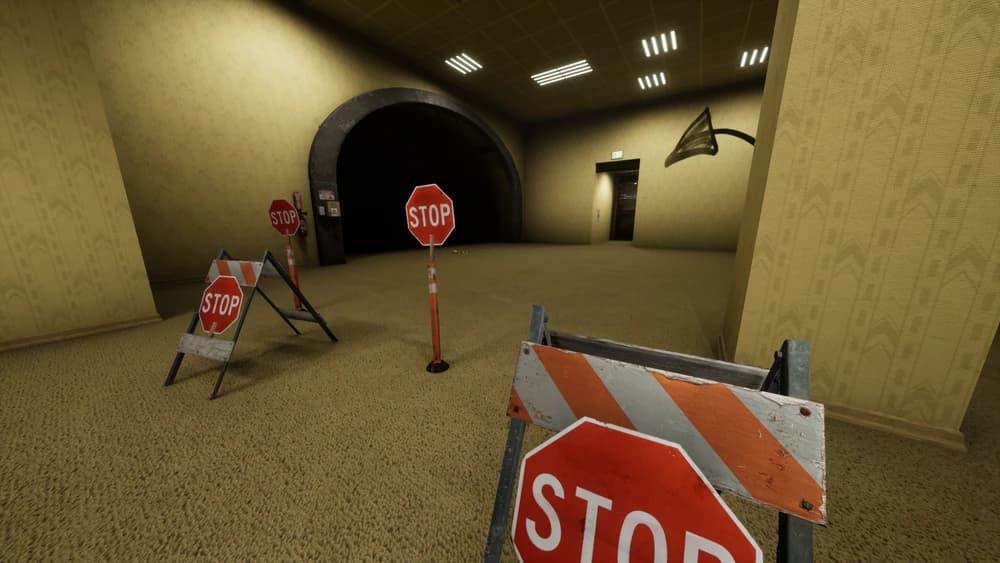
Near the beginning of the level, you will find a framed blueprint on the wall labeled "Level 0.2 - General Plan of Renovation." Studying this blueprint is crucial for standard progression:

If you choose to run this level normally without clipping out of bounds, you must execute the gate-pairing sequence while evading two dangerous entities:
These appear as floating, glowing grins in the pitch-black corridors.
* Standard Counter: Keep your flashlight equipped. When you spot a Smiling Eye, shine your beam directly at it. It will quickly vanish, allowing you to pass safely.
A fast, highly aggressive humanoid entity that roams the narrow hallways.
* Standard Counter: If you hear footsteps or metallic screeching, turn off your flashlight and duck into a side corridor. If it spots you, run immediately toward the nearest unlocked gate door.

If you want to bypass the entities entirely and complete the level without taking risks, you can exploit a geometry collision bug right at the starting area:
Once you are above the ceiling panels, you can walk directly over the maze corridors. This exploit provides two massive advantages:

Once all gates are paired and green, return to the main starting room. Pull the master exit lever. This action drops a heavy iron gate, locking the roaming entities (Guodao/Bone Thief) outside. Walk into the elevator shaft at the end of the corridor to drop down and safely load into Level 6.1 (LE6.1).
We use this as the quick “don’t make the same mistake twice” checklist. If your room, spawn, or prompt does not match the video, stop and check the normal route first—patches and co-op timing can make an old shortcut look tempting when it simply will not work.
Make sure this is actually the step you are on. If an item or prompt is missing, backtrack one room and check the inventory first.
Look around slowly before guessing. Props can hide chairs, switches, notes, and pickups; a second camera angle is usually faster than brute force.
Call out what was pressed, collected, or opened. It prevents the classic “we all thought somebody did it” reset.
On the Ancient Path, keep the switch count in voice chat and wait at the tunnel gate until everyone is ready. Cross together once the safe window opens.
What each entity does on this route, and the move that keeps the encounter under control.
A roaming Smiler can appear on the Level 0.2 route inside Level 0.1.
Use the flashlight on its face from range and keep a retreat line open instead of walking into the fog to confirm it.