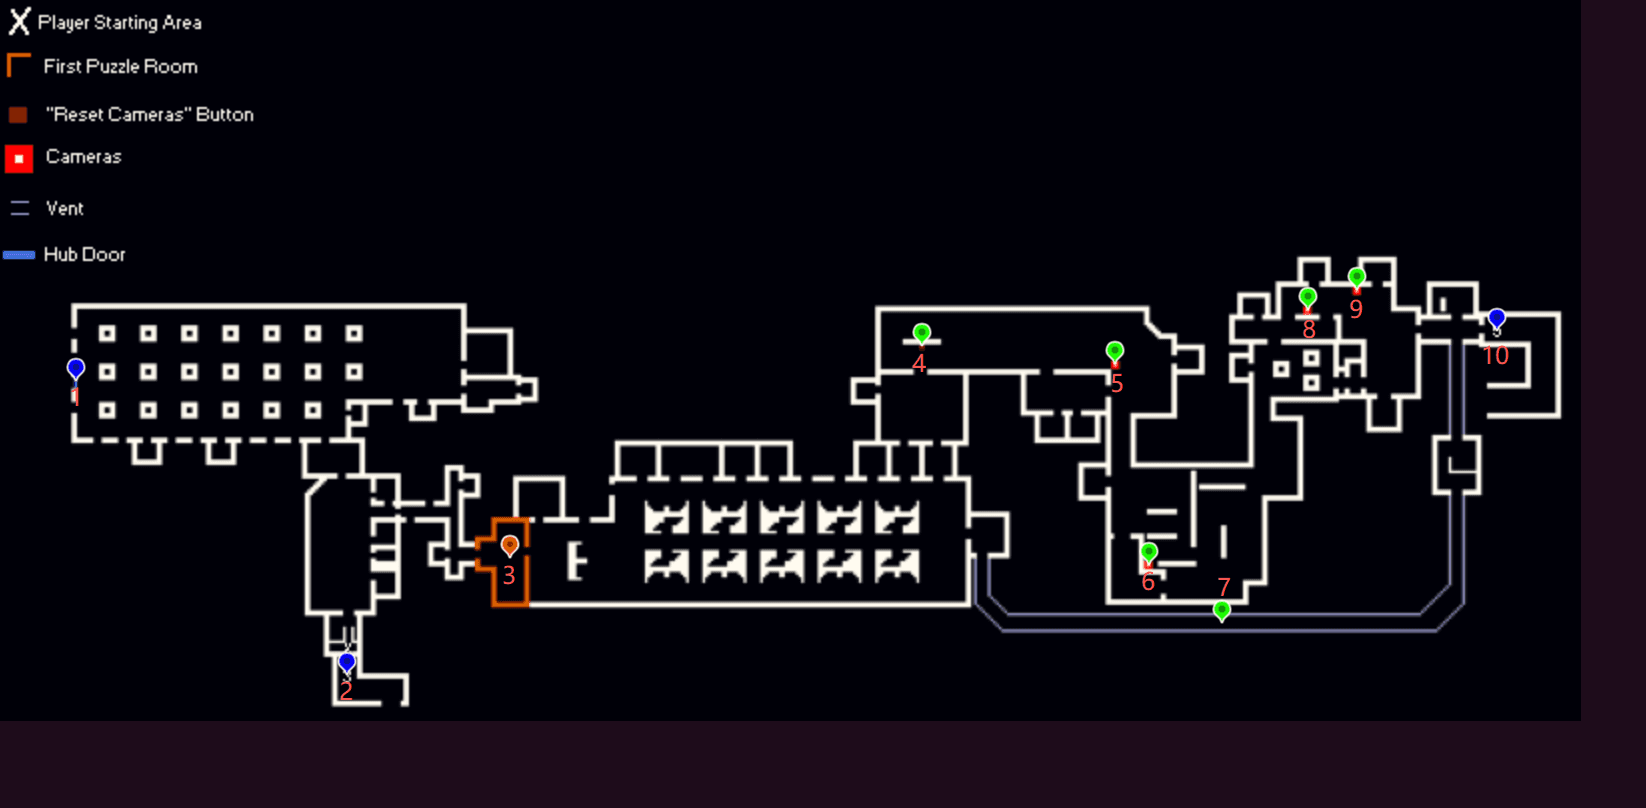
1: The Hub Door
This is The Hub Door that leads to The Hub.
2: Level 3 Entrance
This is the Entrance that leads to Level 3, also known as the Electrical Station.
3: First Puzzle Room
This is the first Puzzle Room in the Level which involves Vending Machines.
4: Reset Cameras
If a camera sees you, use this button to reset them and attempt it again.
5: Camera 1
This is a Camera. If you get caught by it, the Level 5 Entrance will be locked.
6: Camera 2
This is a Camera. If you get caught by it, the Level 5 Entrance will be locked.
7: Vent
This is a Vent. If you get caught by a Camera, you can use the Vent to get back to the Start.
8: Camera 3
This is a Camera. If you get caught by it, the Level 5 Entrance will be locked.
9: Camera 4
This is a Camera. If you get caught by it, the Level 5 Entrance will be locked.
10: Level 5 Entrance
This is the Entrance that leads to Level 5, also known as the Terror Hotel.
Map Overview
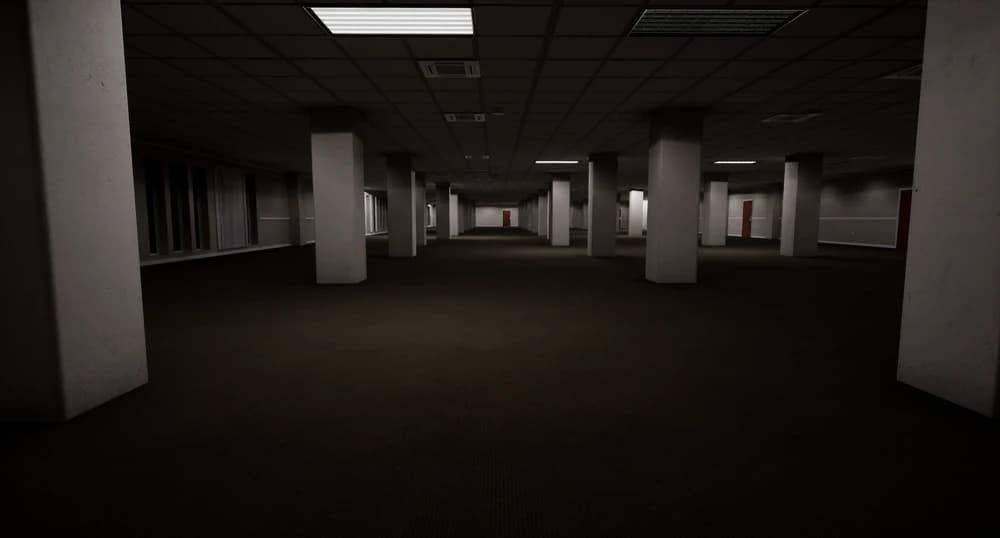
This map shows the complete layout of Level 4 (Abandoned Office), an abandoned office building with little trace of people. This level features vending machine puzzles and a CCTV camera system. Sanity doesn't drop in this level, making it a good place to stay at. For the full objective order and survival strategy, follow Escape the Backrooms: Level 4.
Important Locations
- First Puzzle Room (Point 3): This is the first Puzzle Room in the Level which involves Vending Machines. Solve this puzzle to progress.
- Reset Cameras (Point 4): If a camera sees you, use this button to reset them and attempt it again. This allows you to retry if you get caught.
- Level 5 Entrance (Point 10): This is the Entrance that leads to Level 5, also known as the Terror Hotel. This is the main exit, but it will be locked if you get caught by any camera.
- The Hub Door (Point 1): This is The Hub Door that leads to The Hub. Located in the pillar room.
Vending Machine Puzzle
In the First Puzzle Room, you'll find 4 different vending machines. Each vending machine is associated with an object (chairs, tables, water coolers, stacks of books). Count how many of that object is in the room, and select the corresponding number on each vending machine. If all values are correct, the door will open.
Camera System
Level 4 features a camera surveillance system with 4 cameras:
- Camera 1 (Point 5): This is a Camera. If you get caught by it, the Level 5 Entrance will be locked.
- Camera 2 (Point 6): This is a Camera. If you get caught by it, the Level 5 Entrance will be locked.
- Camera 3 (Point 8): This is a Camera. If you get caught by it, the Level 5 Entrance will be locked.
- Camera 4 (Point 9): This is a Camera. If you get caught by it, the Level 5 Entrance will be locked.
You must sneak past all 4 cameras without being spotted. If spotted, use shortcuts or the Reset Cameras button to try again.
Vent System
Vent (Point 7): This is a Vent. If you get caught by a Camera, you can use a Crowbar to break open the Vent to get back to the Start. This provides a way to restart your attempt.
Windows Entities
Windows entities can be found at the ends of hallways. These are traps and should be avoided at all costs. Do not approach them.
Strategy
- Enter the First Puzzle Room and solve the vending machine counting puzzle
- Navigate through the cubicle area to find the Reset Cameras button
- Press Reset Cameras button and navigate carefully to avoid all 4 cameras
- If caught, use the Crowbar to break open the Vent and restart
- Once all cameras are avoided, proceed to the Level 5 Entrance
Level Information
Category: Early Game
Survival Difficulty: Class 0 - Mostly Safe
Sanity Danger: Class 0 - No Sanity Risk
Mechanic: Puzzle Solving, Stealth, Camera Avoidance
Entities: Windows (traps, avoid at all costs)
Items: Almond Water, Juice, Energy Bar, Flashlight, Crowbar
Warning: Getting caught by any camera will lock the Level 5 Entrance, forcing you to reset and try again.