1. The Windows (Trap Warning)
Make sure this is actually the step you are on. If an item or prompt is missing, backtrack one room and check the inventory first.
Solve Level 4 by counting each office prop carefully, moving with the camera sweep, and resetting the security route instead of forcing a locked exit.
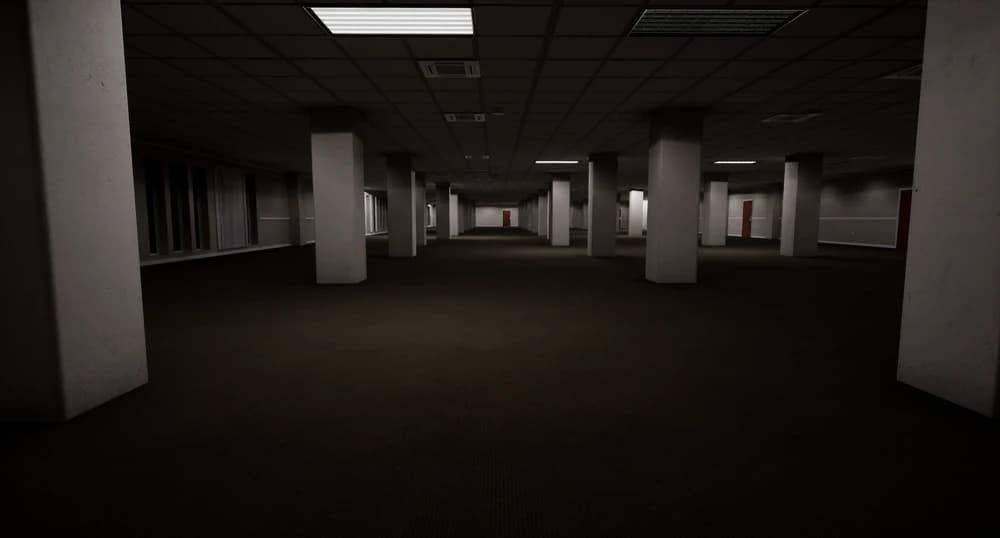
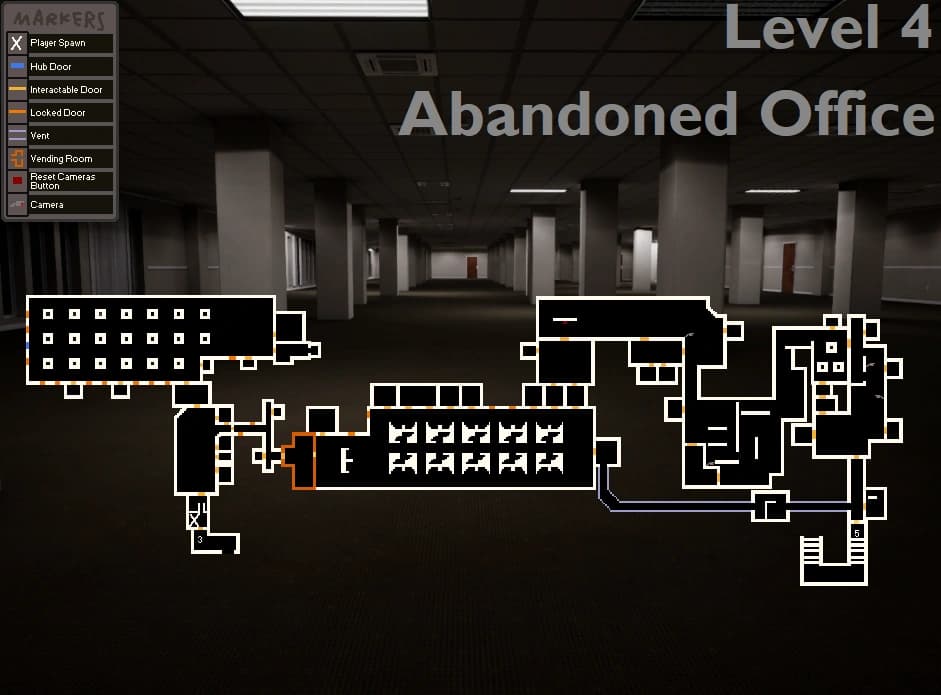
Level 4 requires observation. You need to count objects to unlock doors and use stealth to avoid security alarms. For a visual reference to this route, see Level 4 Map.
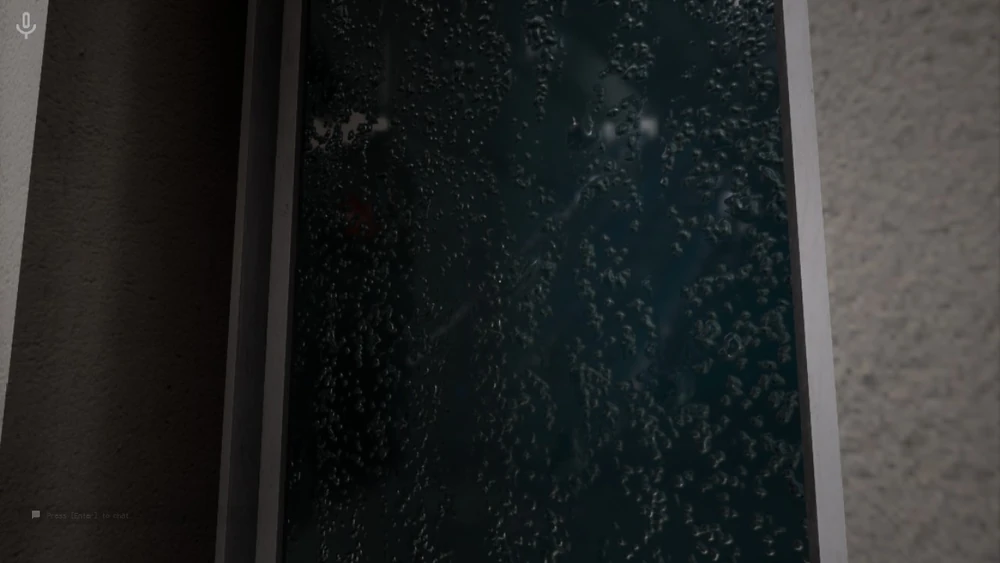
As you enter the office hallways, you will see windows with rain/darkness outside.
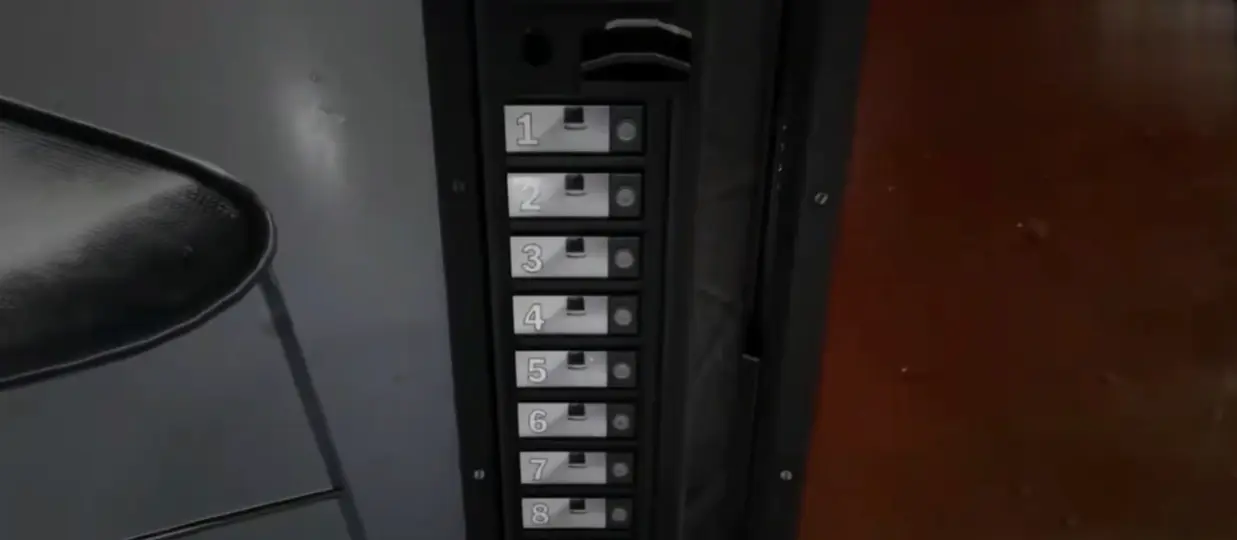
To progress, you will encounter locked doors controlled by Vending Machines with keypads.
The office maze is repetitive.
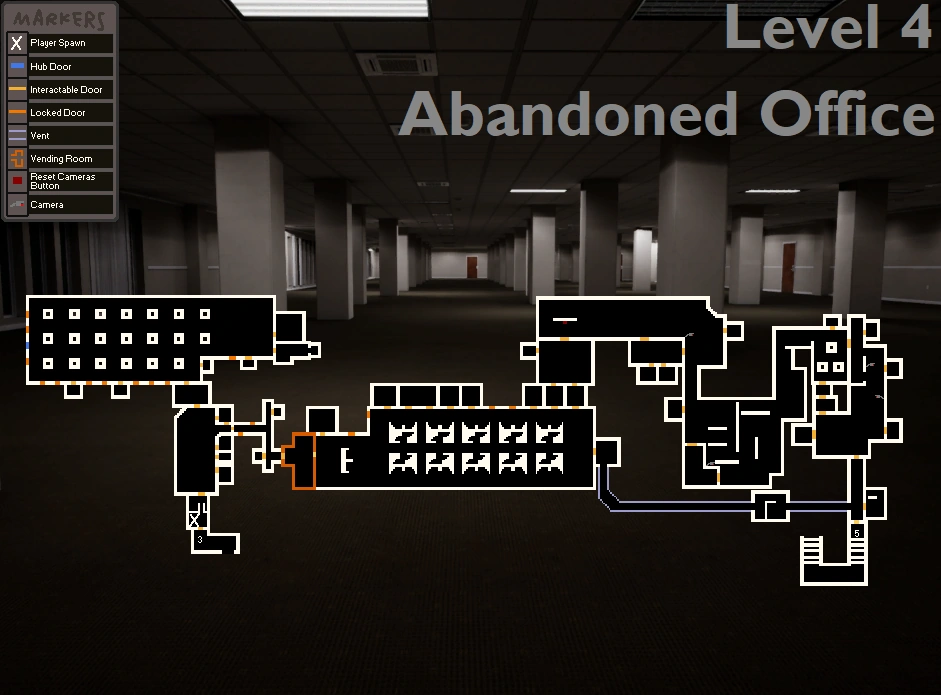
You may find a door labeled "The Hub".
The final section involves a long hallway monitored by security cameras.
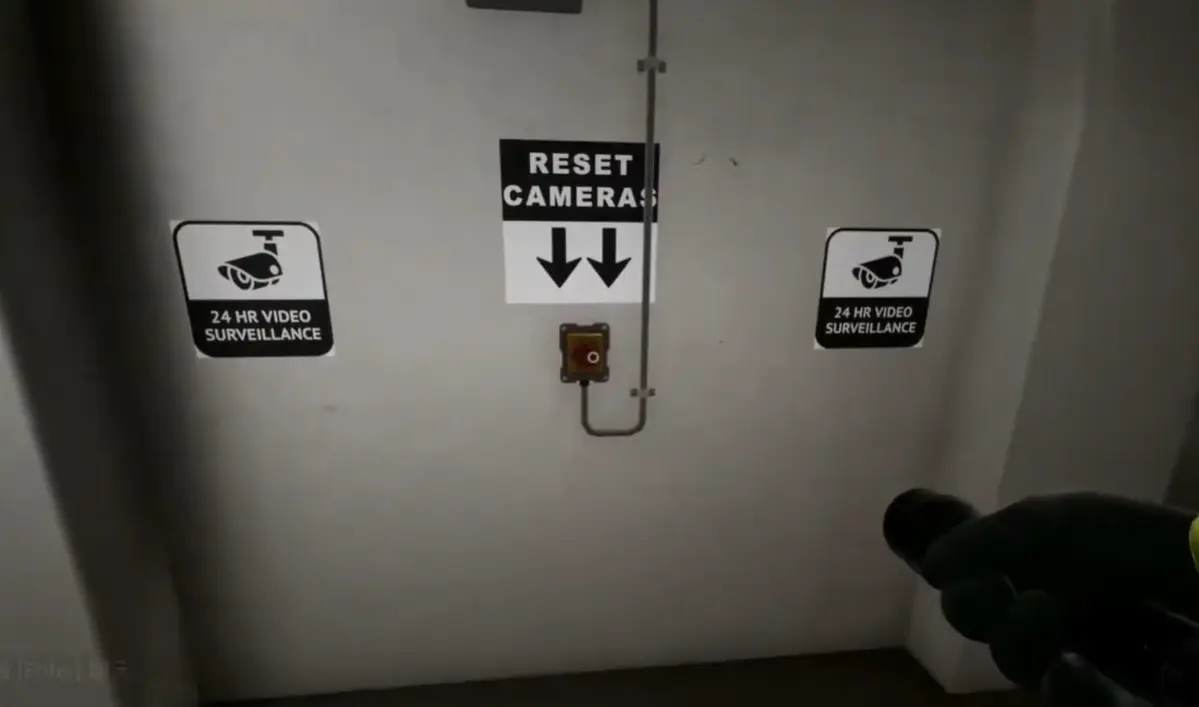
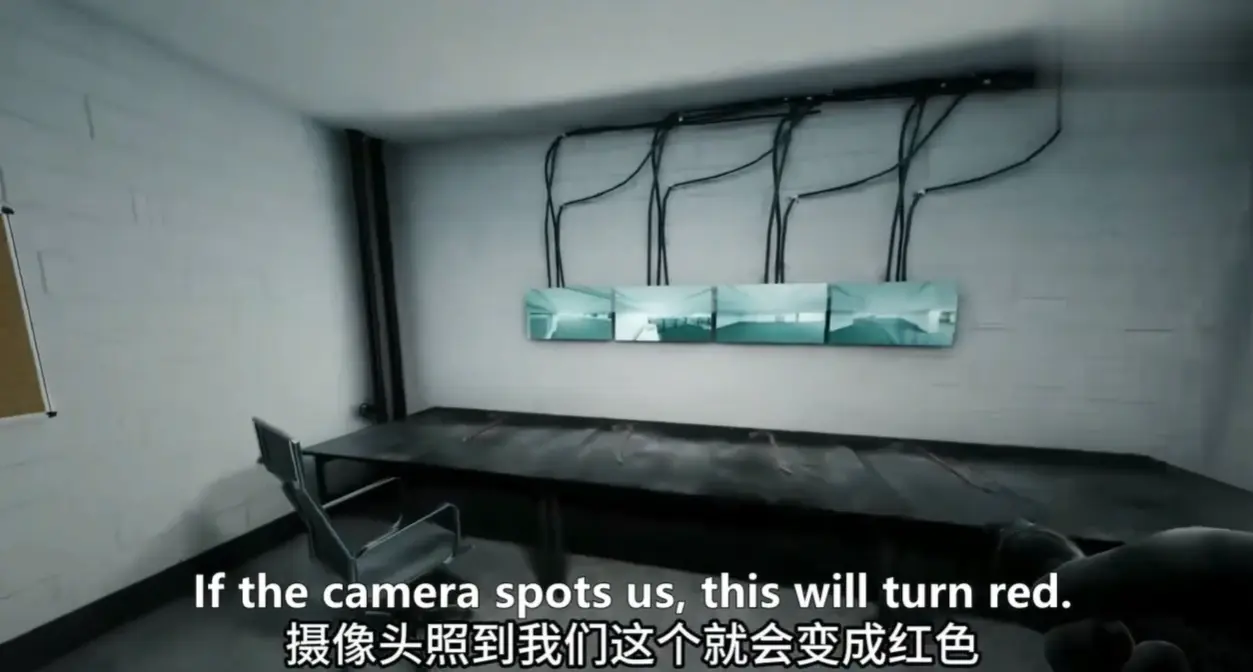
After passing the cameras, you will find a room with an Exit Door and a Vent on the wall.
The four vending-machine values are generated from the props in your room. We count one category at a time, write the result down, and only then touch the machines. Chairs and stools are the easiest items to miss because legs overlap and small furniture can sit behind plants or desks. If the door stays shut, rotate around the room and recount the category with the messiest silhouettes instead of changing every digit at random.
The crowbar in the security area opens the vent route back toward the earlier office. It is useful for a retry or for players deliberately checking the optional path, but it is not a substitute for clearing the camera sequence. We leave it until the main exit is understood so nobody disappears into the vent while the rest of the team waits at the locked door.
We use this as the quick “don’t make the same mistake twice” checklist. If your room, spawn, or prompt does not match the video, stop and check the normal route first—patches and co-op timing can make an old shortcut look tempting when it simply will not work.
Make sure this is actually the step you are on. If an item or prompt is missing, backtrack one room and check the inventory first.
Look around slowly before guessing. Props can hide chairs, switches, notes, and pickups; a second camera angle is usually faster than brute force.
Call out what was pressed, collected, or opened. It prevents the classic “we all thought somebody did it” reset.
If a skip behaves inconsistently, leave it and take the intended route. A clean run beats getting stuck in geometry.
For the camera hall, have one player watch the camera sweep while the others use the side rooms. If the exit locks after a sighting, regroup at the reset point instead of trying to force the final door.
What each entity does on this route, and the move that keeps the encounter under control.
Windows turn parts of the Abandoned Office into a spacing check: a figure and knock can draw the group to the dangerous edge of the hallway.
Stay in the hall centre or the opposite side, do not approach the glass, and keep moving to the next confirmed room.