
Enter the Fun+ lobby
Make sure this is actually the step you are on. If an item or prompt is missing, backtrack one room and check the inventory first.
A comprehensive, player-tested walkthrough for Escape the Backrooms Level Fun+ (Levian's House). Learn how to survive the Partygoers, locate every randomized key, solve the darkroom glow stick puzzle, and use an exclusive V-Sync exploit to skip the final animation.
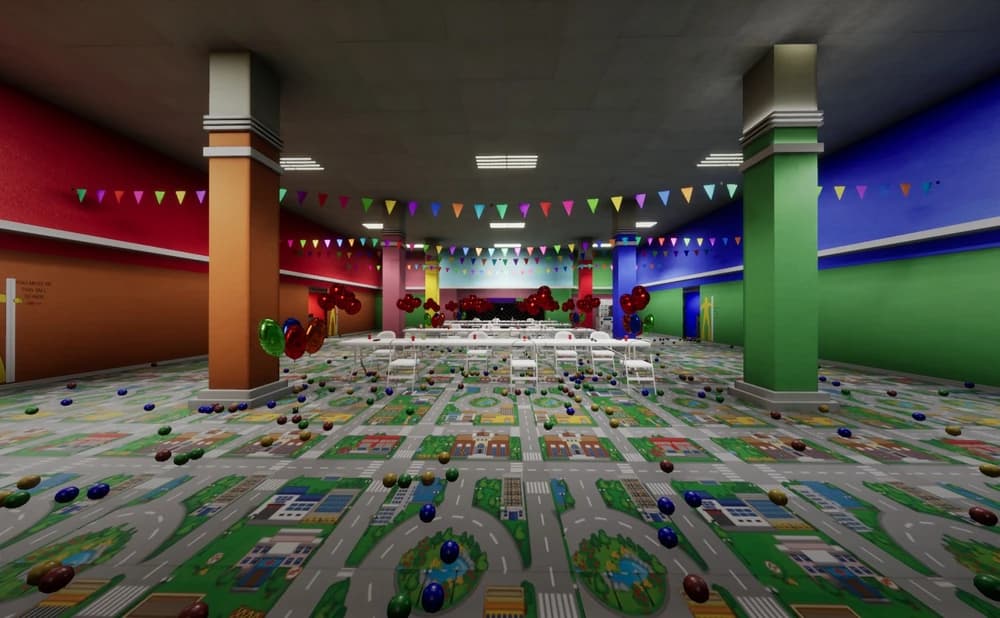
If you have made it to Level Fun+ (often called Levian's House or Levon Plus) in Escape the Backrooms, you know the standard childhood-themed horror has been dialed up significantly. The layout here drops you into a central hub with four distinct doors. Behind each door sits a unique puzzle room protecting exactly one key. Your main goal is simple but nerve-wracking: survive all four trials, grab the keys, and bring them back to the central claw-style vending machine to unlock the exit.
Hard and Nightmare Mode Warning: If you are playing on easier difficulties, you can grab a key and instantly hit "Restart" in your menu to teleport right back to the hub. However, as an active player who runs high-difficulty settings, I must warn you that this menu-warp trick is entirely disabled on Hard and Nightmare. If you are pushing for those achievements, you have to physically run back through the doors every time.
When you enter the first door on the right, you will find yourself in a cluster of three small rooms. This is a game of observation and memory. Your first task is to scour the area for a single VHS videotape. It can spawn randomly on tables, desks, or high shelves, but you only need to secure one.
Once you grab the tape, head over to the TV monitor and slide it in. The screen will turn on and prompt you to interact with the colored buttons on the wall panel. While the initial prompt might seem unpredictable, the underlying color stacking pattern is entirely static. To beat this without breaking a sweat, memorise and stack the inputs in this exact order across the rounds:
Green → Yellow → Blue → Red → Pink
Keep entering this exact sequence as the rounds add more steps. Once you complete the fifth round, a hidden compartment pops open, giving you your first key.
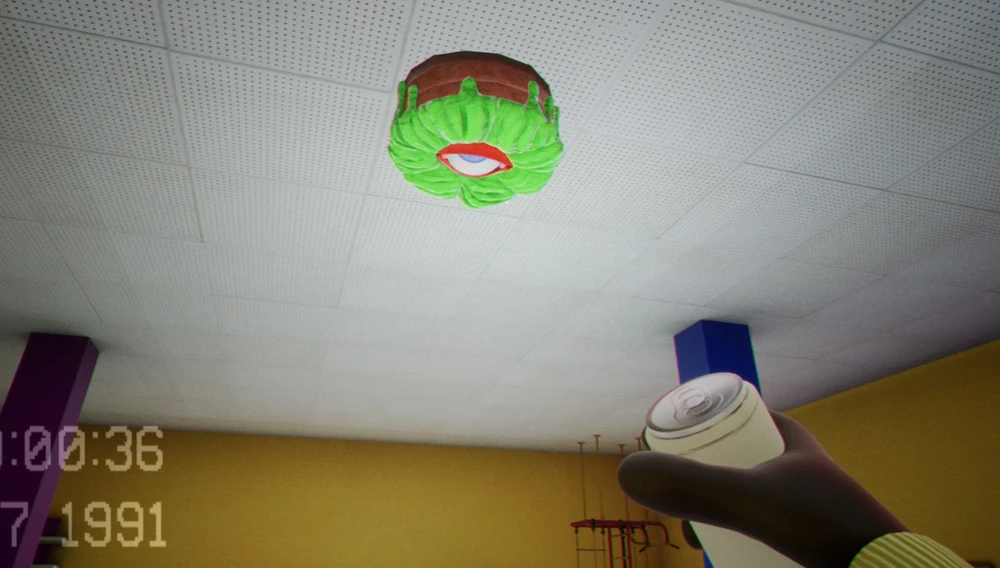
The Sky Blue door opens up a room where your stealth skills are heavily tested by a patrolling Partygoer. The objective here is to pop balloons to locate the second key, but you have to be incredibly careful with your positioning.
The Red door leads into a trial that plunges you into near-total darkness. For this room, you have to rely entirely on colored neon glow sticks to light up hidden drawings on the walls.
Before heading up the stairs to the main puzzle floor, look around the ground level and gather your supplies. Grab at least one glow stick for each of the four main colors: Blue, Red, Green, and Yellow. When you move upstairs, keep your ears open. A slow-moving Partygoer patrols the dark hallways. Fortunately, his vision is just as bad as yours in the dark, so give him a wide berth and you will be completely safe.
To unlock the key pedestal, you must equip and throw your glow sticks using Left-Click directly at the correct environmental wall icons:
If you are unsure if your throw landed correctly, check the ceiling structure. There is a row of indicator bulbs overhead that light up individually for every correct match. If the central cage is still locked, look up, spot which bulb is dark, and you will immediately know which color you missed. Grab your third key and head out.
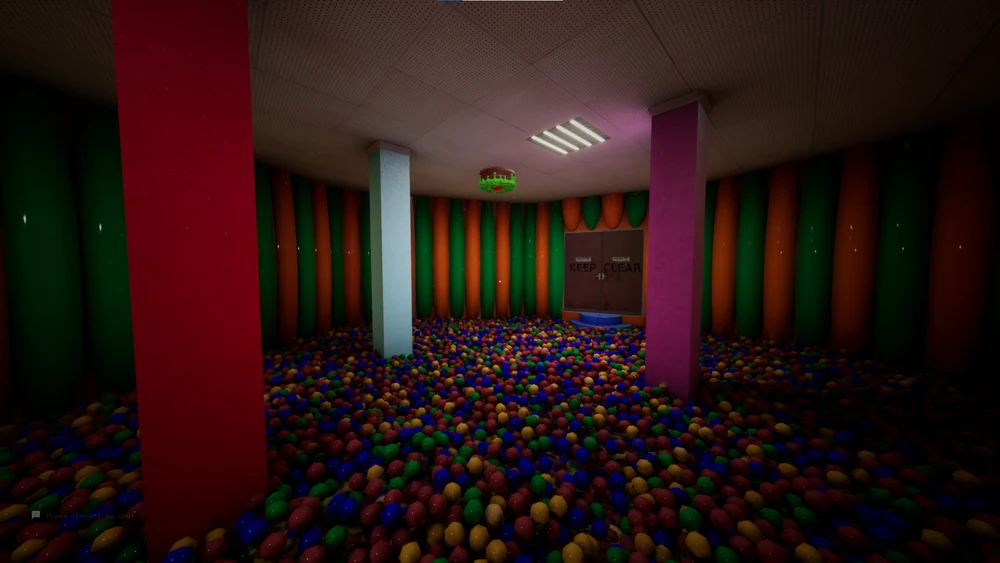
The Dark Blue door houses the most chaotic challenge of the level. Here, you are given explosive charges to destroy the stationary, mutated entities hanging from the ceiling, known as Party Hosts.
When throwing these explosives with Left-Click, you must prioritize your own safety. The blast features incredibly punishing friendly fire. If you stand anywhere near the explosion, it will take you out alongside the monster. Throw your charge and instantly dive for cover.
Every single time you successfully blow up a Party Host or hit a stage objective, a regular Partygoer will crawl out of the floor hatches to hunt you down. In solo play, this spawn isn't random at all; the entity is programmed to emerge from the specific hatch closest to your current location. When you see him give up the hunt and climb back down, stay under your table for an extra second or two. The AI frequently loops its animation and will look back out or step out of the hatch for an extra half-second trick window. Once all the ceiling hosts are clear, the hunts stop entirely, letting you safely pick up the fourth key.
Once you return to the main hub with all 4 keys in hand, you have to insert them into the vending machine. Normally, the game forces you through a painfully slow, tedious animation for each individual key. If you want to bypass this entirely and complete your escape instantly, you can use a clever optimization exploit tied to the game engine's physics simulation:
ESC on your keyboard to pull up the main game menu and open your Graphic Settings.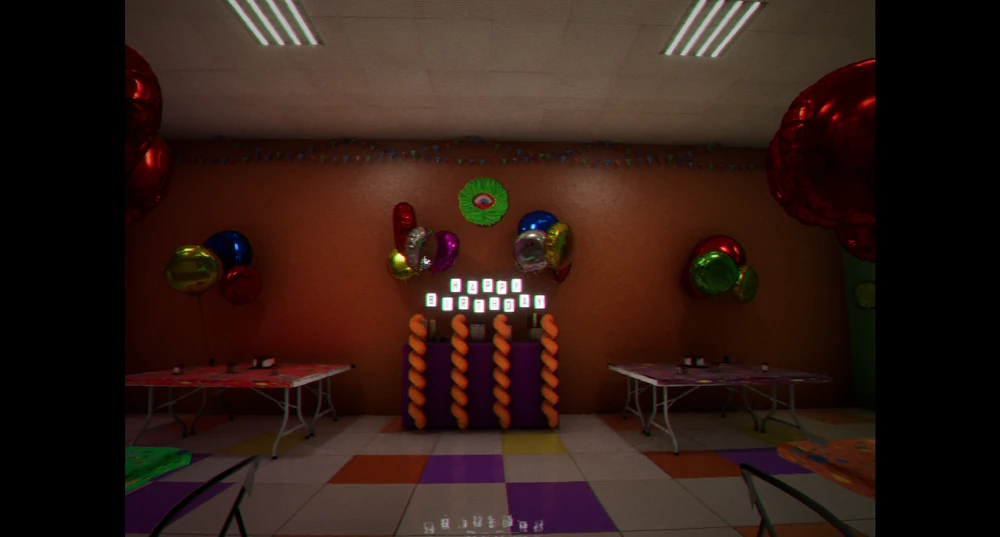
Because Escape the Backrooms runs its mechanical interaction animations directly parallel to your rendering frame rate, jumping from a locked 60 FPS to hundreds of frames causes the internal logic to fast-forward. The slow key-turning and dispensing animations will skip entirely, wrapping up the level and opening your escape path within the blink of an eye.
We use this as the quick “don’t make the same mistake twice” checklist. If your room, spawn, or prompt does not match the video, stop and check the normal route first—patches and co-op timing can make an old shortcut look tempting when it simply will not work.
Make sure this is actually the step you are on. If an item or prompt is missing, backtrack one room and check the inventory first.
Look around slowly before guessing. Props can hide chairs, switches, notes, and pickups; a second camera angle is usually faster than brute force.
Call out what was pressed, collected, or opened. It prevents the classic “we all thought somebody did it” reset.
If a skip behaves inconsistently, leave it and take the intended route. A clean run beats getting stuck in geometry.
In Fun+, give each sector a caller and return every key to the centre before opening another route. If a Partygoer blocks a key, name the sector so nobody walks into the same danger blind.
What each entity does on this route, and the move that keeps the encounter under control.
Three Partygoers roam the Party and Arcade sections; the Funhouse adds pressure when the Party Host spots the group or the timer advances.
Use tables as the reset, avoid close-range checks in the dark arcade, and leave an objective immediately when the patrol enters the room.
Party Hosts hang above the Fun+ route and can pull Partygoers onto a sector that looked quiet seconds earlier.
Check the ceiling before crossing, remove the Host with a safe firework throw when possible, or stay below its sightline and leave the sector promptly.