1. The Elevator Code & Almond Water Trick
Make sure this is actually the step you are on. If an item or prompt is missing, backtrack one room and check the inventory first.
Read the garage’s changing car colours, coordinate four keys at the central locks, and keep a closable door ready when Skin-Stealers enter the search.
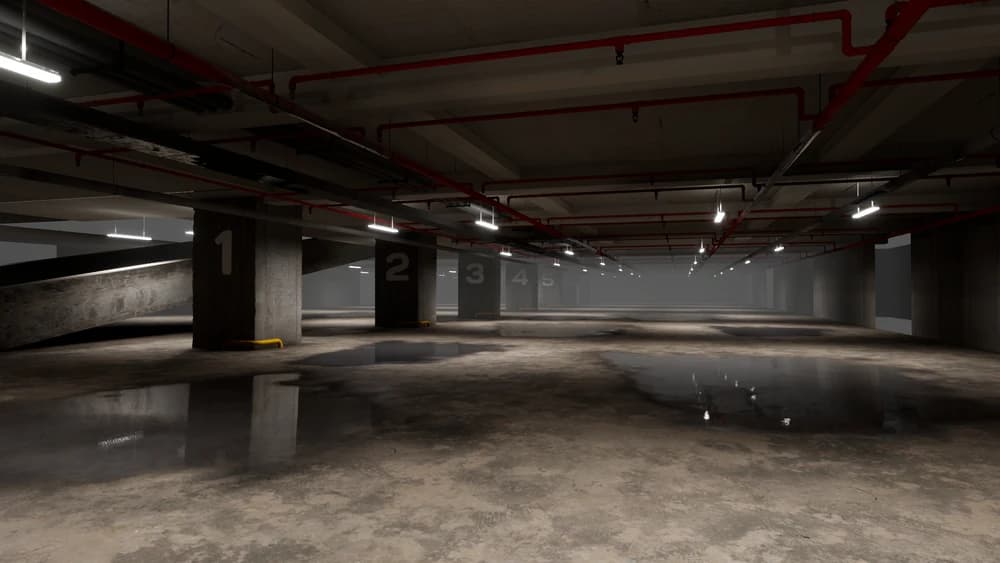
Level 1 takes place in a massive, dim parking garage structure. Follow these steps to escape safely.
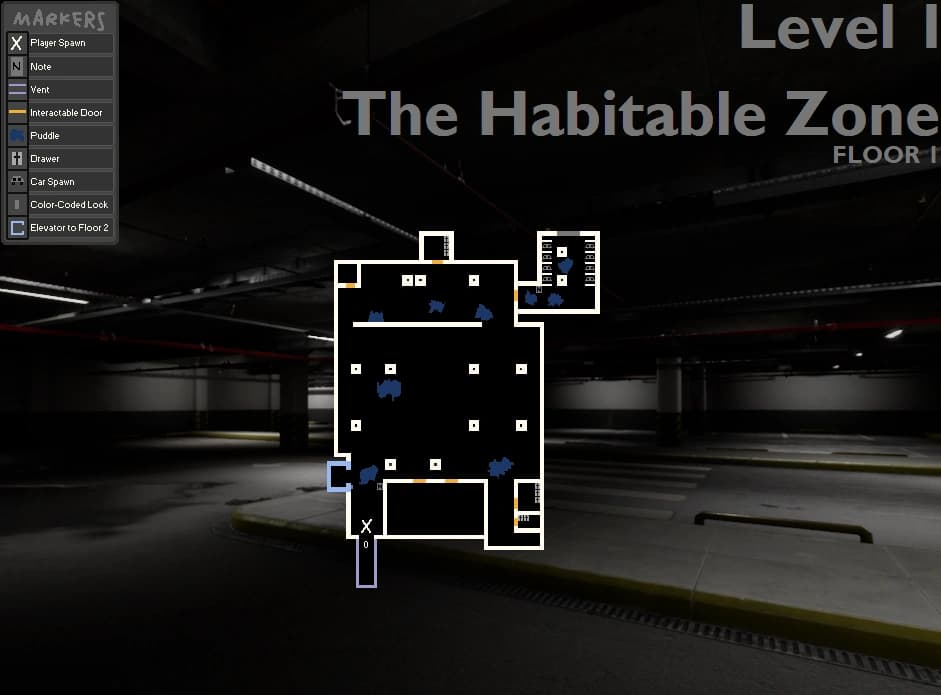
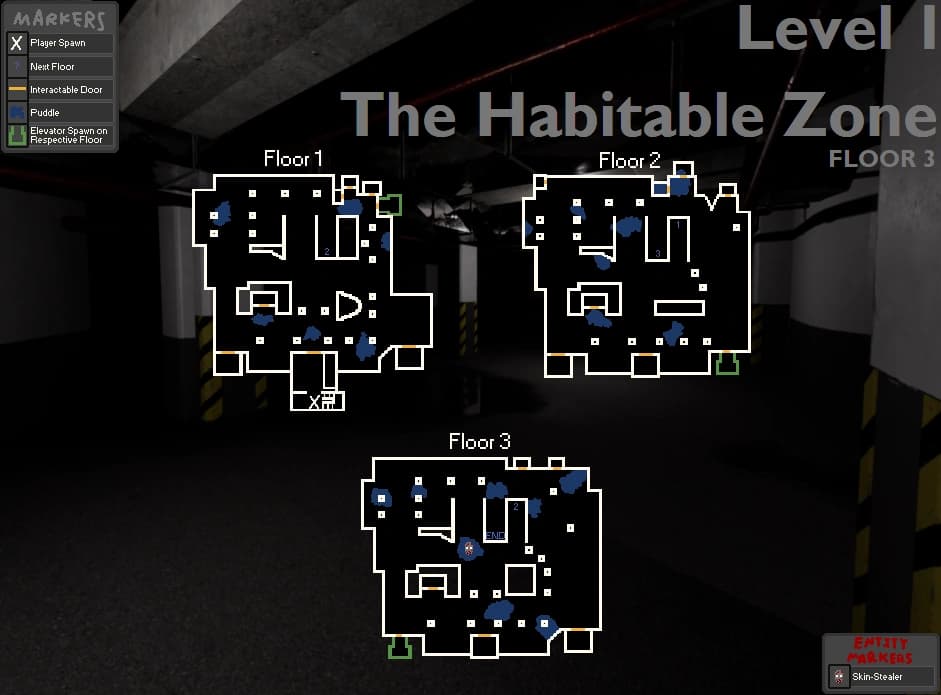
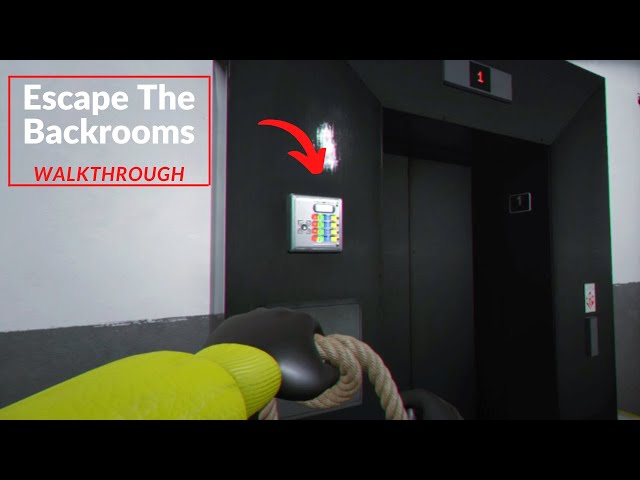
To enter Level 1, you need a 4-digit color code. For a visual reference to this route, see Level 1 Floor 1 Map. For a visual reference to this route, see Level 1 Floor 3 Map.
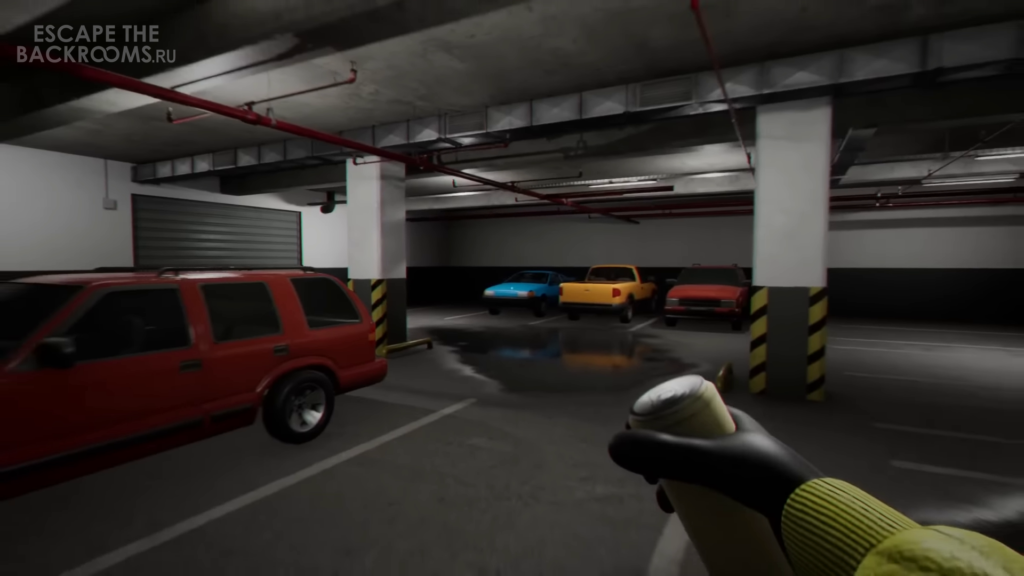
The map is shaped like a square within a square (Chinese character "回"). Your goal is to find 4 Keys to unlock the central door.
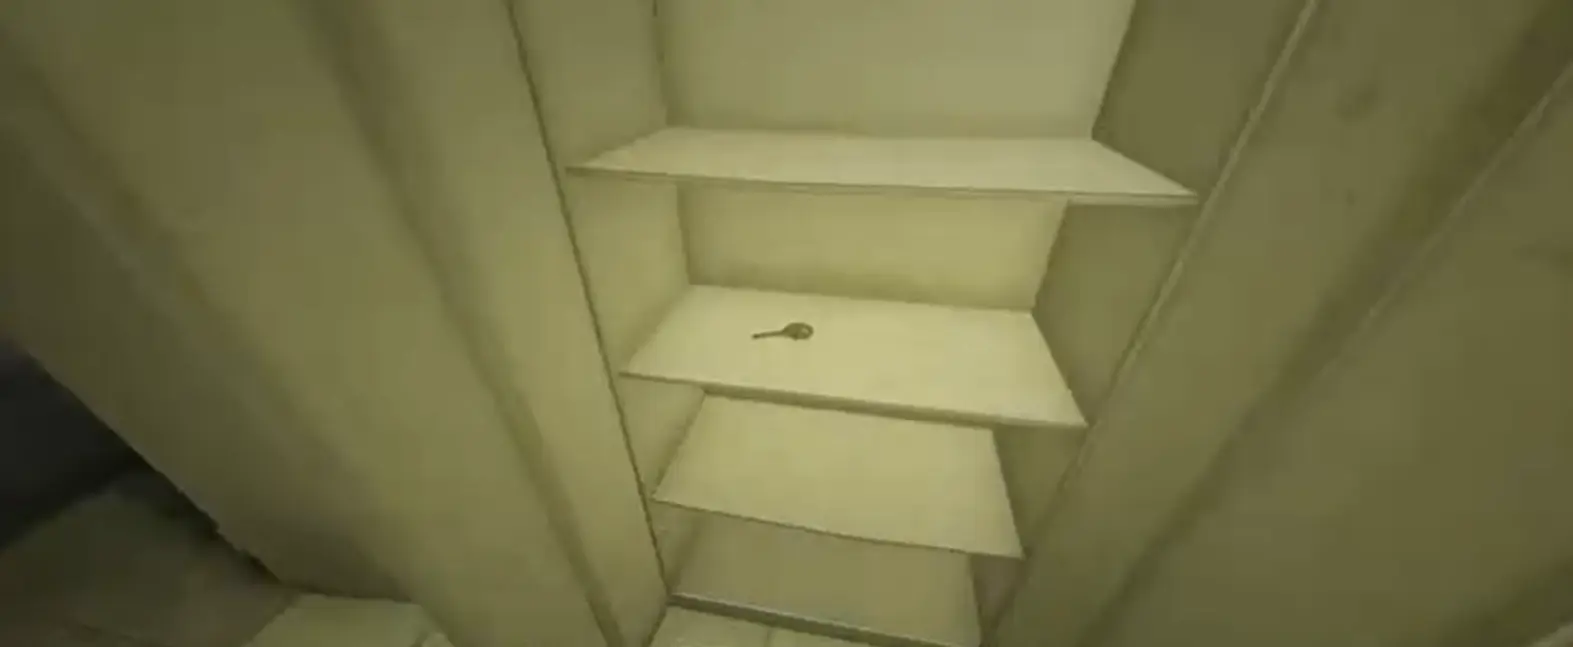
Keep an eye on the Brain Icon in your inventory. If it gets low, your vision blurs. Drink Almond Water or find Medicine in the lockers to restore it. Once you have all 4 keys, go to the central door and turn the lock quickly (all players must interact if playing co-op).
After the garage, you enter a pitch-black basement maze.
Before leaving, you can unlock a shortcut to "The Hub".
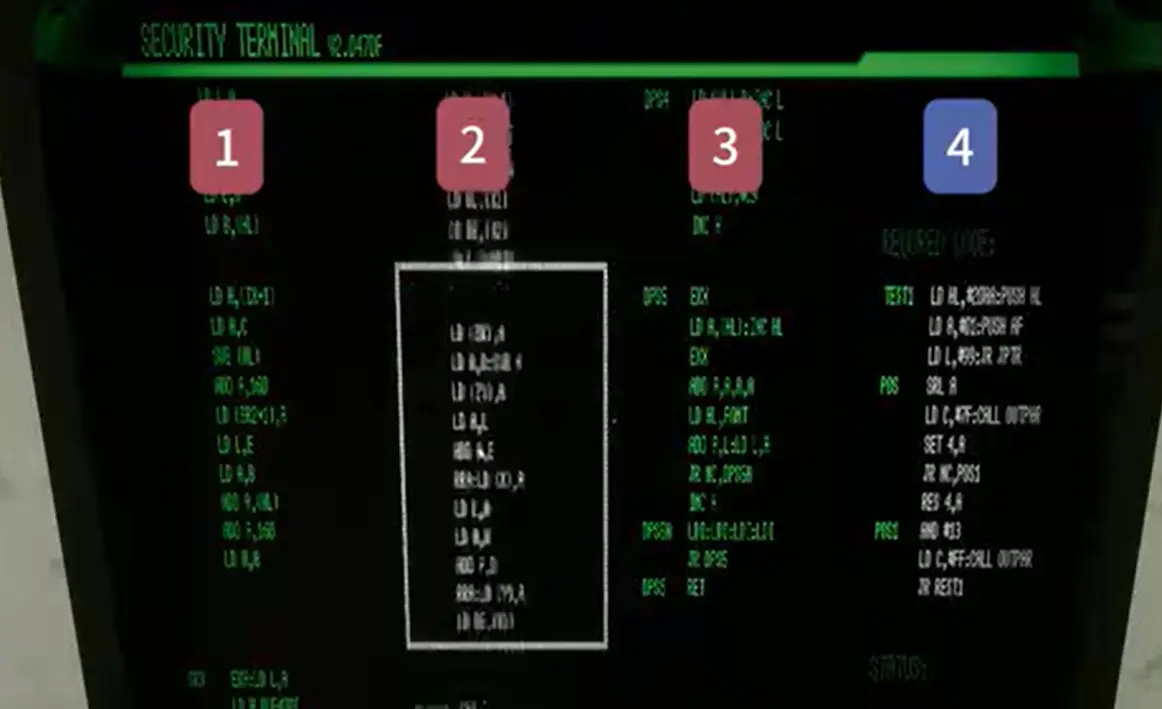
The final area is a long concrete tunnel with holes on the sides.
Before touching the elevator keypad, read the car colours in order and repeat them back once. The sequence changes between runs, so a remembered code from a video is not a solution. We use the same discipline for the four keys: call the room as soon as a key is found, then bring every key to the central lock before anyone starts turning one.
Low view-distance settings have exposed doors or reduced darkness in some builds, but that visual shortcut is not reliable enough to be the plan. Carry the flashlight, use the ramp and floor layout as landmarks, and stop at the last known doorway if the group splits. The optional Hub terminal can be handled after the route is stable; it is not required to reach the next level.
We use this as the quick “don’t make the same mistake twice” checklist. If your room, spawn, or prompt does not match the video, stop and check the normal route first—patches and co-op timing can make an old shortcut look tempting when it simply will not work.
Make sure this is actually the step you are on. If an item or prompt is missing, backtrack one room and check the inventory first.
Look around slowly before guessing. Props can hide chairs, switches, notes, and pickups; a second camera angle is usually faster than brute force.
Call out what was pressed, collected, or opened. It prevents the classic “we all thought somebody did it” reset.
If a skip behaves inconsistently, leave it and take the intended route. A clean run beats getting stuck in geometry.
Give the four keys to players who are already standing at the central lock, then count down before turning them. The locks reset if the turns are too far apart, so the search team should call “all keys in” before anyone starts the interaction.
What each entity does on this route, and the move that keeps the encounter under control.
Split floor searches make the player character part of the information problem: one person may hold the key or route call everyone needs.
Choose a regrouping door and use the same identity check after every split.
Skin-Stealers appear on the upper floors, where split searches make a human-shaped silhouette easy to trust too quickly.
Use the agreed ID check, keep distance, and close a hiding door if the figure ignores the call or rushes the group.
When the garage lights fail, Smilers spawn in the dark and move faster than the player.
Stop searching and get into a lit side hall immediately; do not remain in the parking lanes waiting to see the full model.