1. The Circuit Breaker Panel
Make sure this is actually the step you are on. If an item or prompt is missing, backtrack one room and check the inventory first.
Power the Electrical Station one three-breaker zone at a time, keep clear of live puddles, and save the flashlight response for a committed Hound.
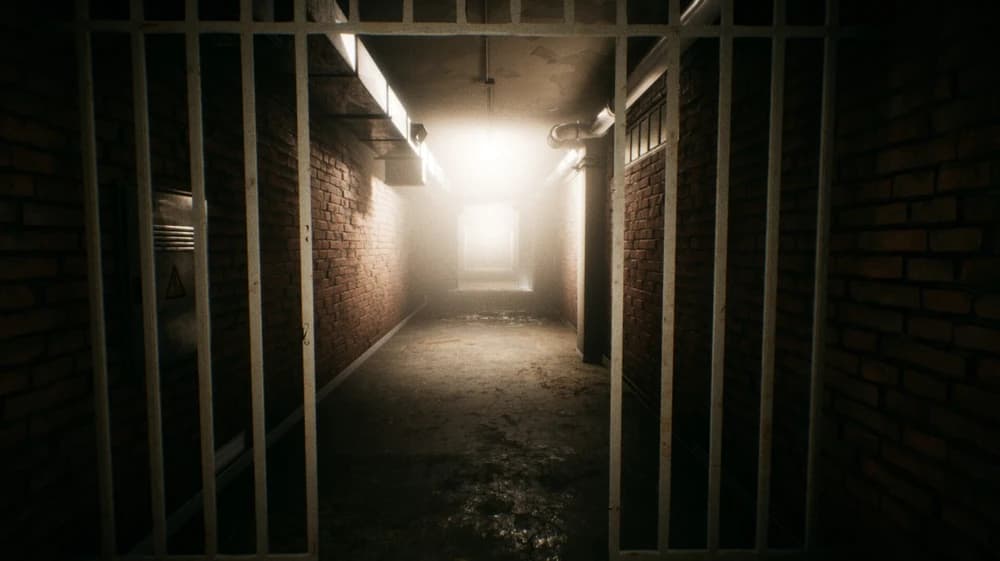
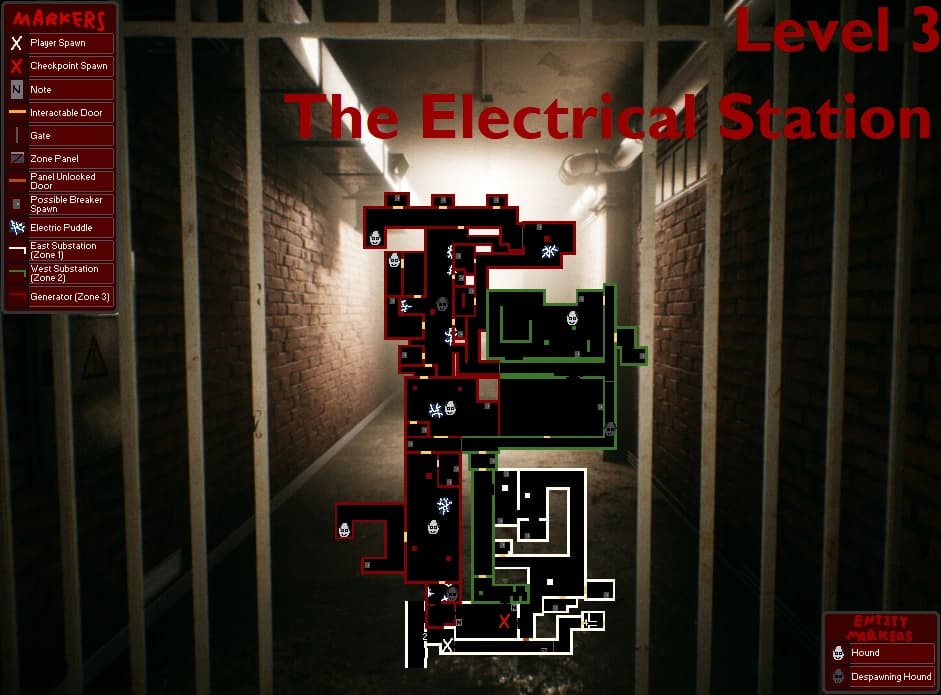
Your goal in Level 3 is to find and flip 9 Circuit Breakers to power up the exit gate. The map is divided into 3 phases/areas. For a visual reference to this route, see Level 3 Map.
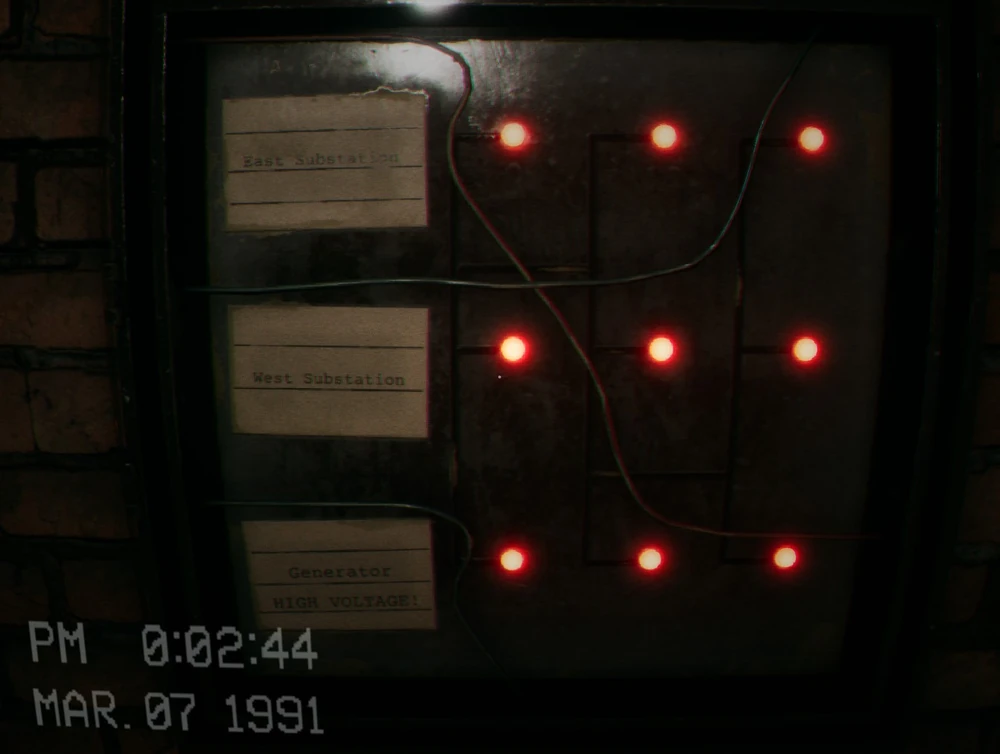
At the start, you will see a panel with 9 red lights.
Head into the first area. Check every room carefully.
After lighting the first 3 lamps, a gate opens to the next area.
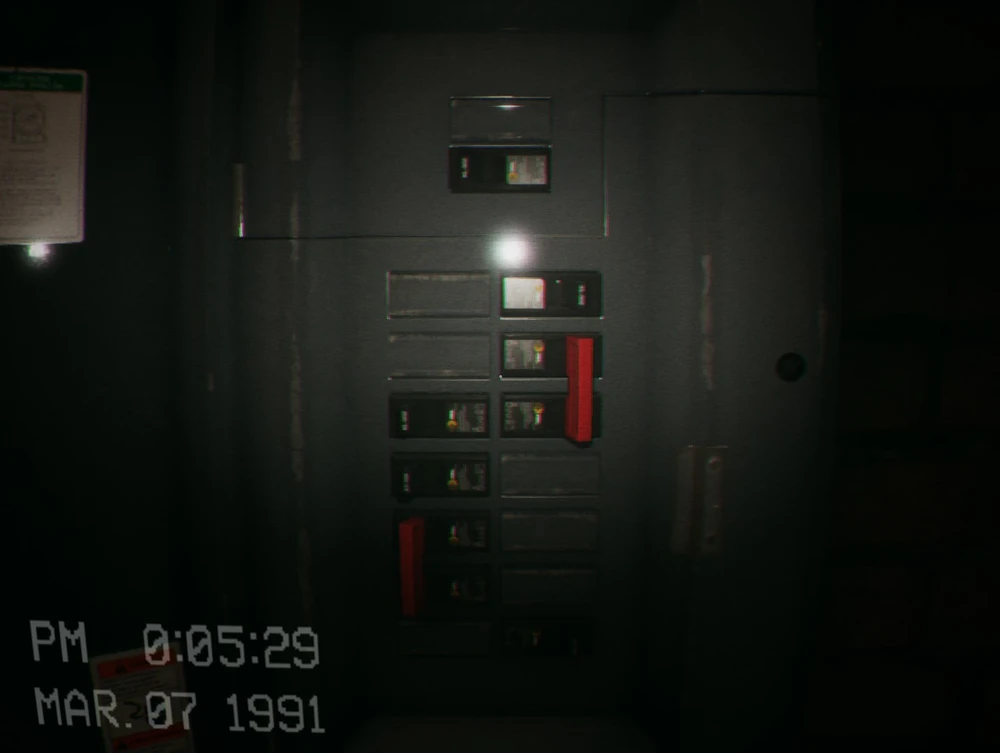
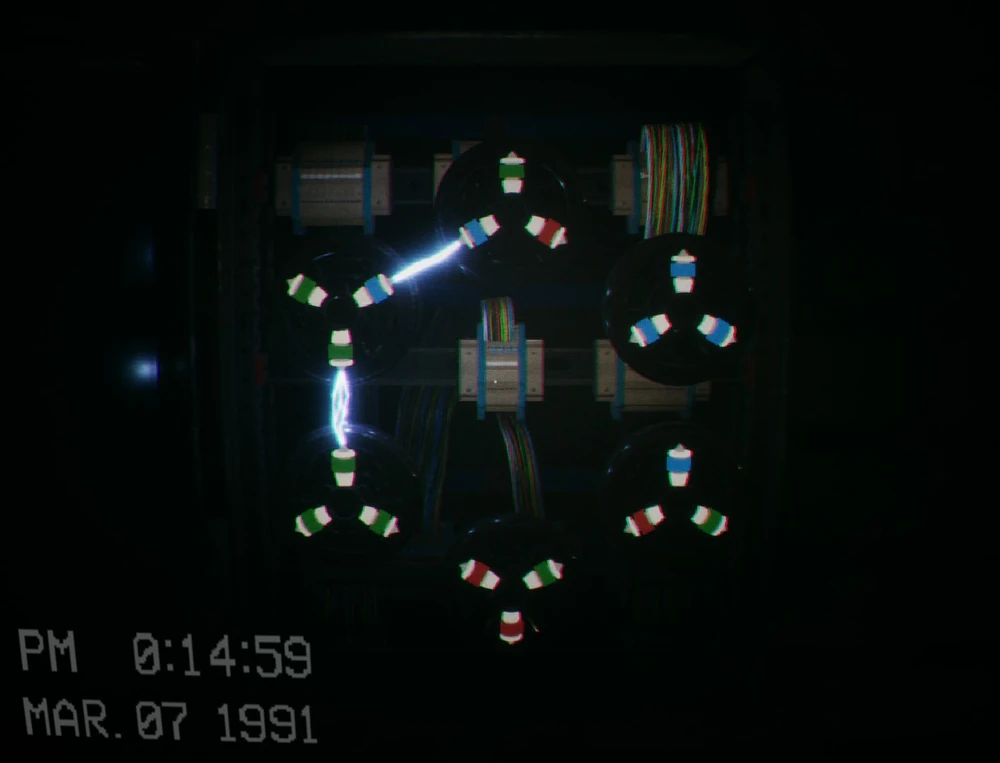
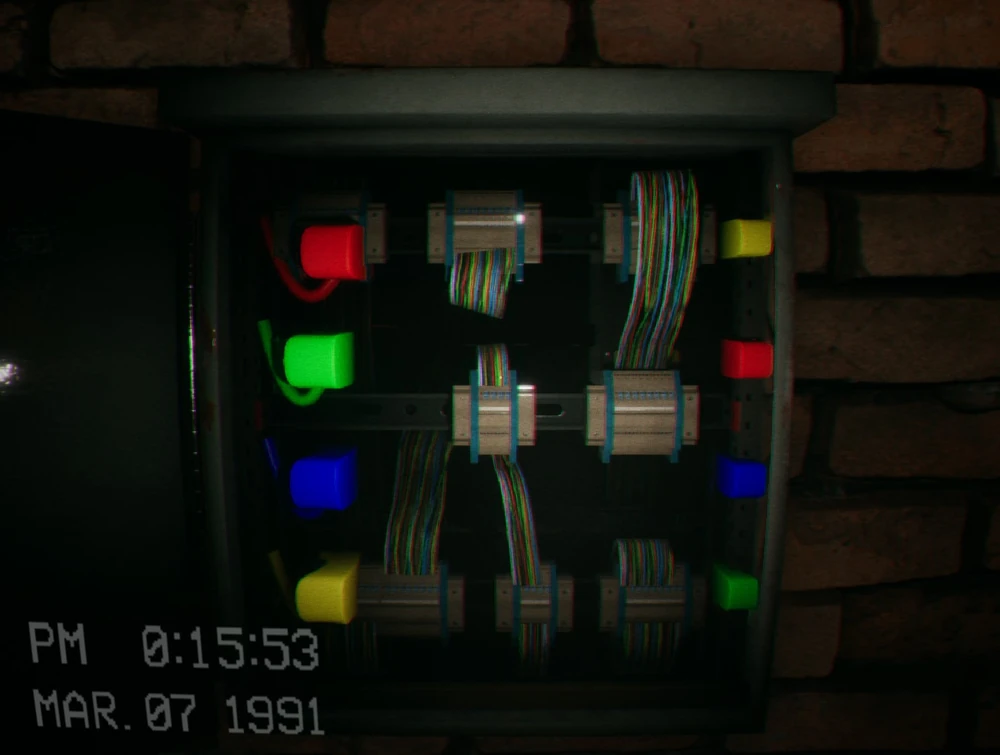
The final area is the most dangerous.
Return to the main panel where you started.
The station becomes manageable when we stop treating it as one huge maze. The nine fuse boxes are divided across the East Substation, West Substation, and Generator areas. Finish a three-light group, confirm it at the panel, and use the newly opened gate as the next route boundary. The first section is the safe place to learn the possible switch positions; the later sections reuse that search habit while adding Hounds and electrical hazards.
Split by adjacent rooms, not by entire zones. One player works the panel, one watches the nearest approach, and the others check the next two rooms before regrouping at the last gate. Every fuse call should include the room and the updated light count; “I got one” is not enough when the ninth light fails to turn green.
We use this as the quick “don’t make the same mistake twice” checklist. If your room, spawn, or prompt does not match the video, stop and check the normal route first—patches and co-op timing can make an old shortcut look tempting when it simply will not work.
Make sure this is actually the step you are on. If an item or prompt is missing, backtrack one room and check the inventory first.
Look around slowly before guessing. Props can hide chairs, switches, notes, and pickups; a second camera angle is usually faster than brute force.
Call out what was pressed, collected, or opened. It prevents the classic “we all thought somebody did it” reset.
If a skip behaves inconsistently, leave it and take the intended route. A clean run beats getting stuck in geometry.
At the Electrical Station, split the fuse search by room rather than wandering. Whoever finds a fuse calls its room, while one teammate stays near the last opened gate so the team always has a known way back.
What each entity does on this route, and the move that keeps the encounter under control.
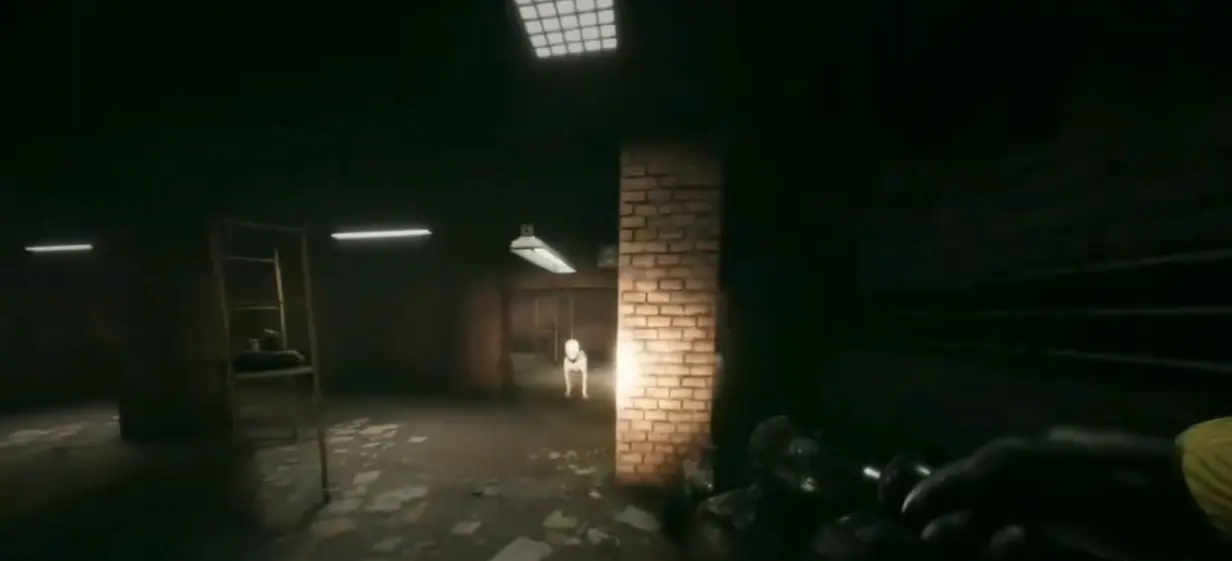
Hounds patrol the dark breaker corridors and can interrupt an interaction at the panel.
Keep the light ready, blind the eyes only when the Hound commits, then complete the breaker or retreat behind a door.