Make sure this is actually the step you are on. If an item or prompt is missing, backtrack one room and check the inventory first.
Stage 1: The Hall of Portraits (The Age Puzzle)
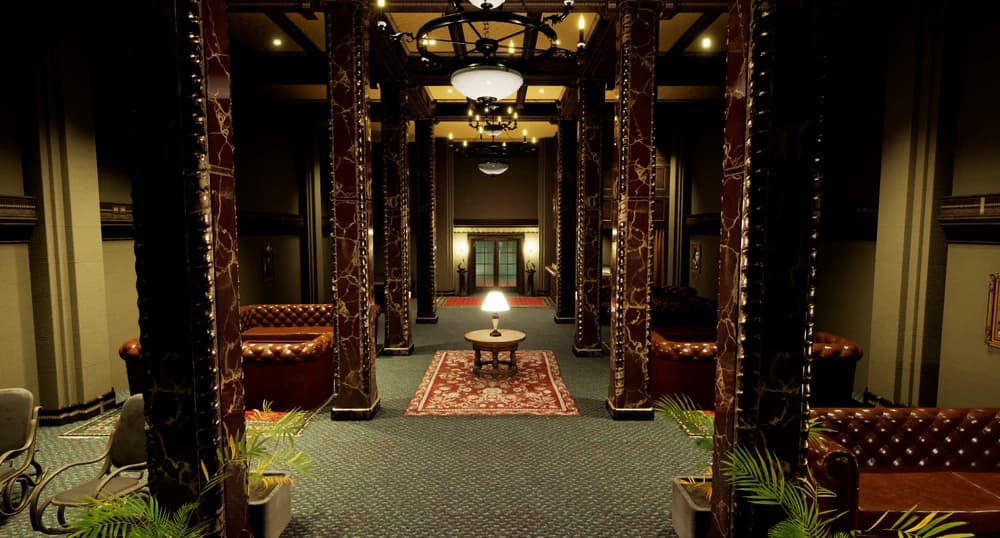
When you first enter Level 5, you are in a clean, carpeted hotel corridor filled with portraits on the walls.
- The Mechanic: You cannot just run randomly. The hotel layout loops if you go the wrong way.
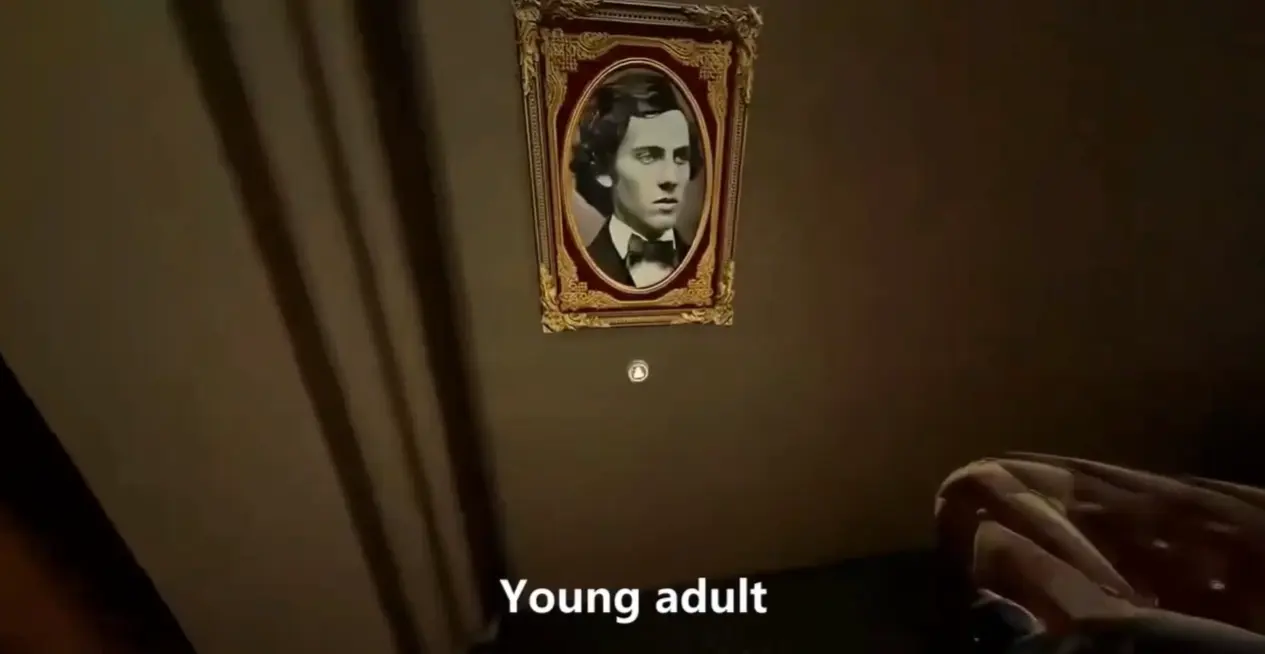
- The Solution: You must follow the path of "Aging". Look at the paintings next to the doors or on the walls. Follow them in this order:
- Little Girl (Childhood)
- Young Adult (Male/Female in their prime)
- Middle-aged (Maturing)
- Elderly (Old Age)
- The Goal: Once you reach the final "Elderly" portrait, the door nearby will be unlocked, granting access to the main hotel area (The Lobby and Boiler Room).
Stage 2: The Moth Hunt (Main Objective)
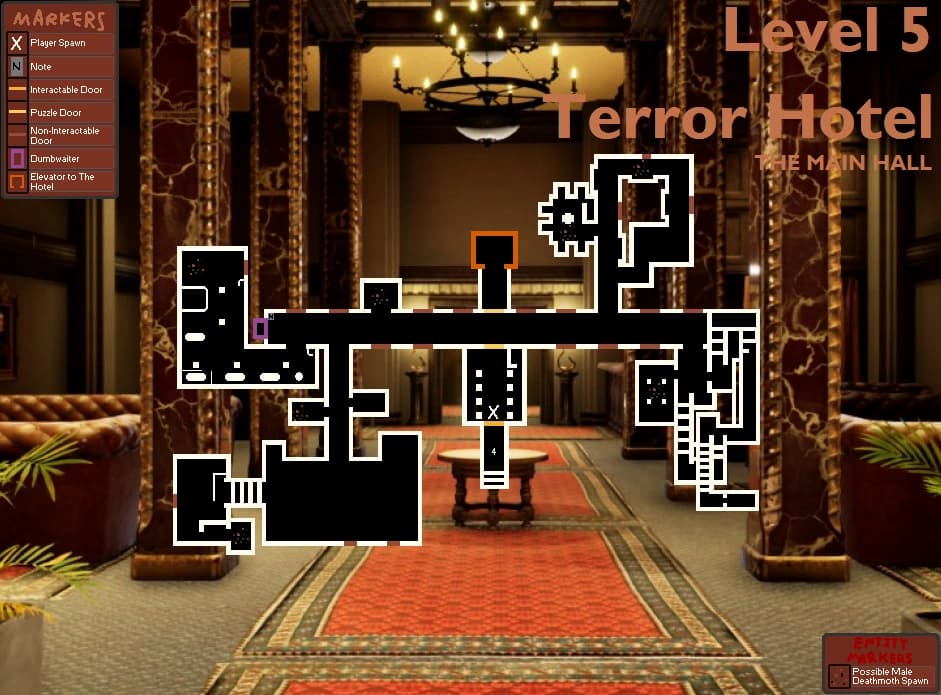
The main area is darker and filled with buzzing sounds. Your objective is to collect 3 Keys to unlock the final elevator. For a visual reference to this route, see Escape the Backrooms Level 5 Map: Terror Hotel.
- The Task: There are no keys lying around. You must trade for them.
- The Trader: Locate a service window (reception desk) with a buzzer. The entity inside demands Moth Jelly.
- Exchange Rate: 1 Moth Jelly = 1 Key. You need to do this 3 times.
How to Catch Death Moths
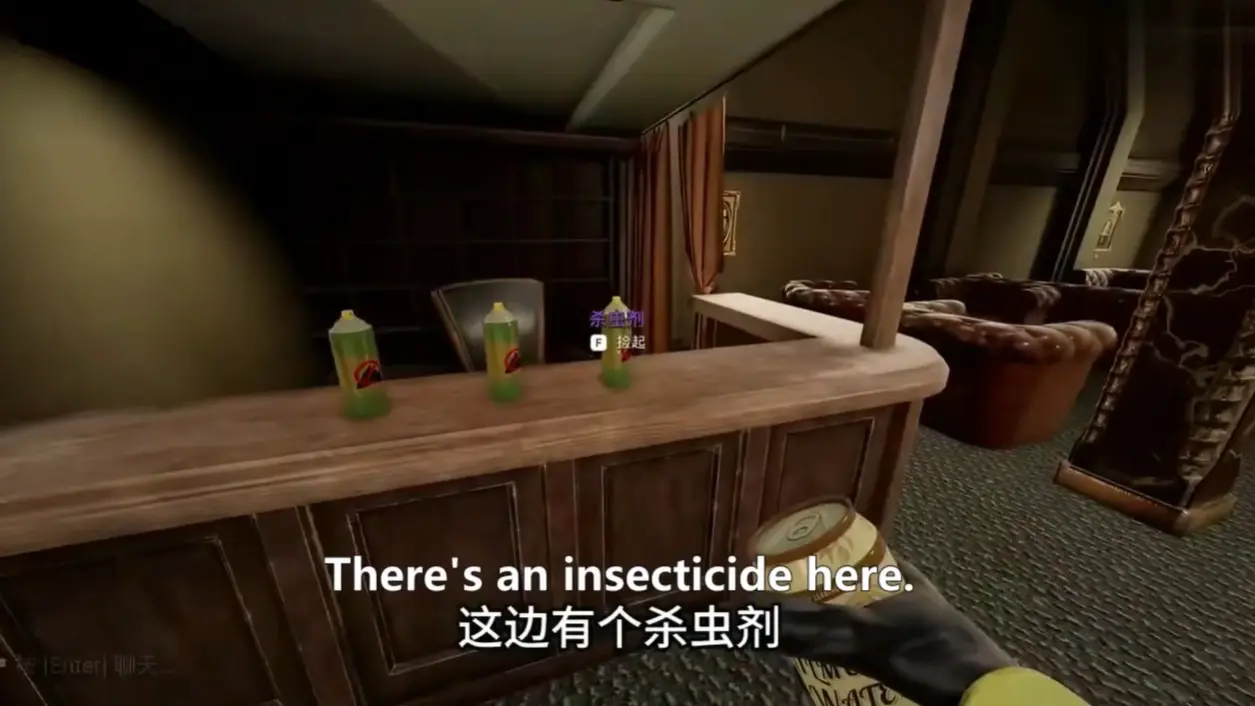
- Find Supplies: Look for Insecticide Spray cans on tables or shelves.
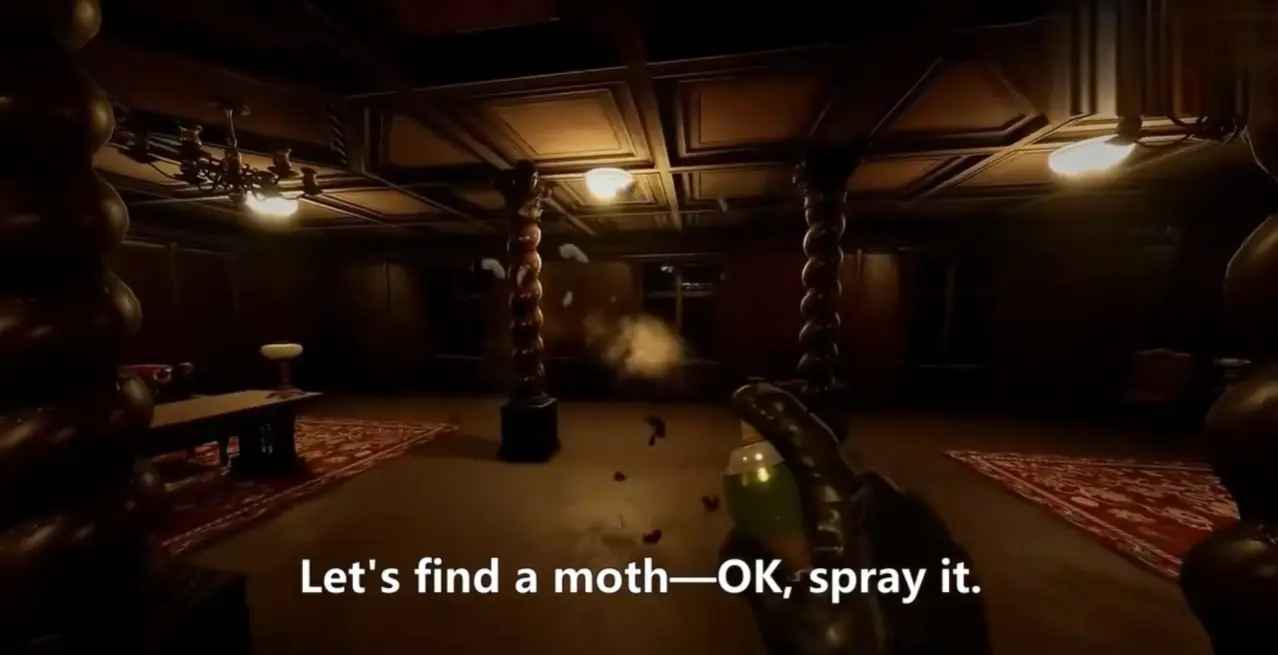
- Locate Moths: Search the hallways and rooms for Death Moths (Small Male Moths) flying near ceiling lights.
- Spray Them: Use the spray on a moth. It will drop a purple item called Moth Jelly.
- Respawn Logic: If you can't find moths, don't worry. The game randomly respawns them after you kill one. Just keep circling the area.
Stage 3: The Secret Wall & Moth Jelly Stats
Level 5 has hidden secrets that can help you survive.
The "5th Brick" Secret (Wall Phase)
As shown in the video (around 01:37), there is a specific spot in the hotel hallway.
- Location: Near the trading window area.
- The Secret: If you count to the 5th brick on a specific wall section, you can walk straight through it. This is a "phantom wall" that acts as a shortcut between areas, saving you time from walking the long way around.
Moth Jelly: Item Stats
Moth Jelly is not just a quest item; it is a consumable buff.
- Sanity Restore: Consuming it restores approximately 40% Sanity (Upper Limbs). It is almost as good as Almond Water (which restores 50%).
- Speed Boost: It provides 11 seconds of Infinite Stamina and increased movement speed.
- Strategy: Farm extra jellies before you leave! They are invaluable for escaping entities in Level 6.
Stage 4: The Escape (Glitch vs. Legit)
Once you have collected the keys, you need to leave.
Option A: The "Restart" Glitch (Speedrun Strat)
- Condition: Works only on Easy/Normal modes (where the "Restart Level" button is active).
- The Trick: After you trade for all 3 Keys, do NOT run to the final door. Instead, press Esc and click "Restart Level".
- The Result: The game bugs out. When the level reloads, the final elevator door will be wide open. You can just walk in and finish the level instantly without doing the unlocking sequence.
Option B: The Legit Way
- Condition: Hard/Nightmare modes.
- Action: Take the 3 keys to the large double doors/elevator at the end of the main hall.
- Unlock: Use the keys to unlock the gate. The keys will be removed from your inventory automatically.
Tips for Surviving Level 5
- Don't Over-Trade: The trader only gives 3 keys. If you give him a 4th Jelly, he will take it but give you nothing back. Don't waste your precious jelly!
- The Beast: There is lore about a "Beast of Level 5" (a large entity). While it mostly serves as background horror in the window, always stay alert.
- Sanity Drain: The "Terror Hotel" effect drains sanity faster than Level 4. Keep your sanity high by eating jelly or drinking water, otherwise, the hallucinations will make navigation difficult.
Level 5 Walkthrough Video
We use this as the quick “don’t make the same mistake twice” checklist. If your room, spawn, or prompt does not match the video, stop and check the normal route first—patches and co-op timing can make an old shortcut look tempting when it simply will not work.
Look around slowly before guessing. Props can hide chairs, switches, notes, and pickups; a second camera angle is usually faster than brute force.
Call out what was pressed, collected, or opened. It prevents the classic “we all thought somebody did it” reset.
If a skip behaves inconsistently, leave it and take the intended route. A clean run beats getting stuck in geometry.
In the hotel, split the job cleanly: one player handles the painting order or notes while another gathers Moth Jelly. Keep the bug-spray carrier alive and call out every key before returning to the dumbwaiter.
Entities in this level
What each entity does on this route, and the move that keeps the encounter under control.
Skin-Stealer
A Skin-Stealer patrols while the group searches rooms for papers; after enough time it can continue tracking a hiding player until it sees them.
Mark the nearest bed, closet, and closable door before searching. Do not lead the chase through every room needed for the paper route.
Male Deathmoth
Male Deathmoths provide the Moth Jelly used at the Hotel food elevator to receive three progression keys.
They are harmless. Use Bug Spray deliberately, collect every jelly drop, and take it back to the elevator.