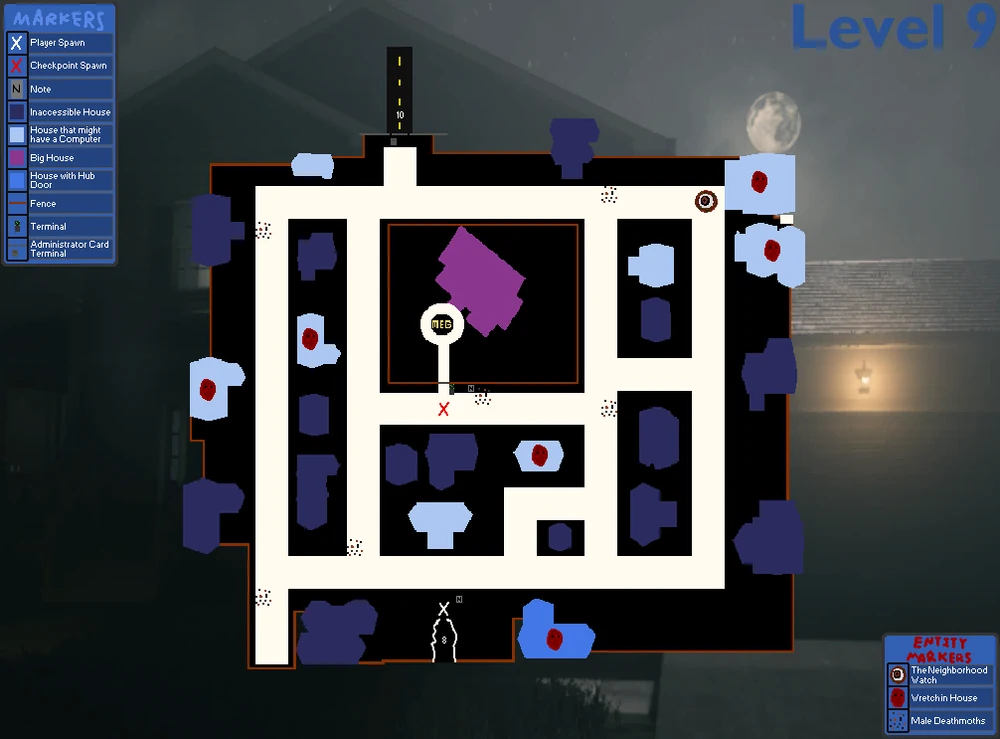
Locate the map and computers
Make sure this is actually the step you are on. If an item or prompt is missing, backtrack one room and check the inventory first.
Master the computer puzzle of Level 9 (The Suburbs) and navigate the complex underground laboratory. Learn how to use wall-clipping tricks, avoid the Beishi and Big Eye, and obtain the exit badge.
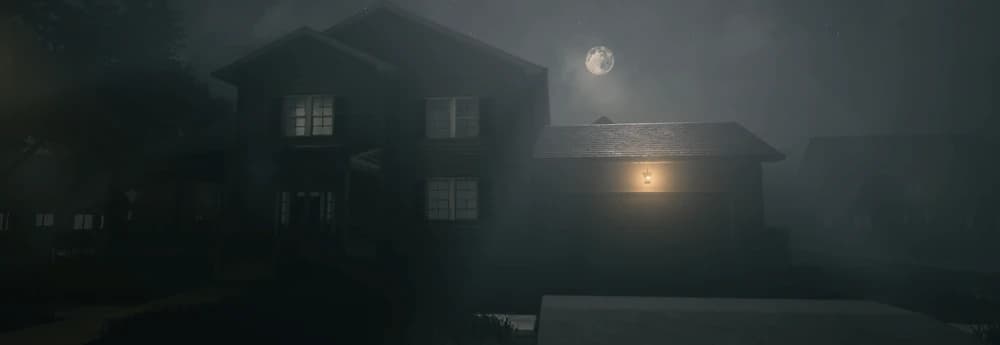
On the street sections, Neighborhood Watch is the reason to choose the next house before opening the door. Its patrol and the Wretch houses create two different problems: break the street sightline first, then enter with an interior exit in mind.
Your goal is to find several computer terminals scattered across the houses. The locations are randomized each playthrough. For a visual reference to this route, see Level 9 Map.
A massive, multi-legged "Big Eye" monster patrols the streets. It is extremely fast and can kill you instantly.
After all computers are activated, the M.E.G. gate opens, leading to a secret laboratory beneath the suburbs.
To leave the level, you must obtain a physical ID badge from an M.E.G. researcher who has been turned into a Beishi.
Take the Badge to the final card-swipe terminal at the end of the hall. This will unlock the door to Level 10 (The Fields).
We use this as the quick “don’t make the same mistake twice” checklist. If your room, spawn, or prompt does not match the video, stop and check the normal route first—patches and co-op timing can make an old shortcut look tempting when it simply will not work.
Make sure this is actually the step you are on. If an item or prompt is missing, backtrack one room and check the inventory first.
Look around slowly before guessing. Props can hide chairs, switches, notes, and pickups; a second camera angle is usually faster than brute force.
Call out what was pressed, collected, or opened. It prevents the classic “we all thought somebody did it” reset.
If a skip behaves inconsistently, leave it and take the intended route. A clean run beats getting stuck in geometry.
In the Suburbs and Lab, keep the key item with a player who is not leading a chase. Regroup before each puzzle; clues are much easier to read once nobody is still running from the previous area.
What each entity does on this route, and the move that keeps the encounter under control.
Small harmless Deathmoths can appear in Level 9 as an optional source of Moth Jelly.
Spray only if the resource is useful; do not treat them like the giant female variant or interrupt the route to hide from them.
Wretches occupy six houses and the Abandoned Outpost. The house variants can see and open doors; the Outpost Wretch carries the Admin Card and a crowbar.
Listen for footsteps in houses, close and lock the door after retreating, and use the Outpost locker or vent before collecting the card.
Neighborhood Watch patrols Level 9’s streets while the team moves between terminal houses. Its footsteps and eye-facing lane decide when a road is safe to cross.
Plan the next house before stepping out, stay out of its frontal sightline, and reset inside a house or behind solid cover instead of running down the road.